Are you ready for the most gorgeous fall nature craft project? I’m so excited to share today’s post from our uber-talented Creative Team member Tiffany Griffin. Tiffany is here with an incredible DIY moth wings tutorial for kids. This project is simpler than you might expect and guaranteed to make any little kid’s imagination go wild! These gorgeous wings are the perfect addition to any outdoor adventure. They can be made from materials you probably already have in your craft closet and yard. While the subtle moth wings are a perfect project for fall, this DIY nature wing tutorial can also be changed and adapted for any season based on what’s available in your location.
* This project was inspired by the beautiful flower butterfly wings created by the amazing Johanna Bless of @blessnestlearning. Her full tutorial can be found at woodlarkblog.com.
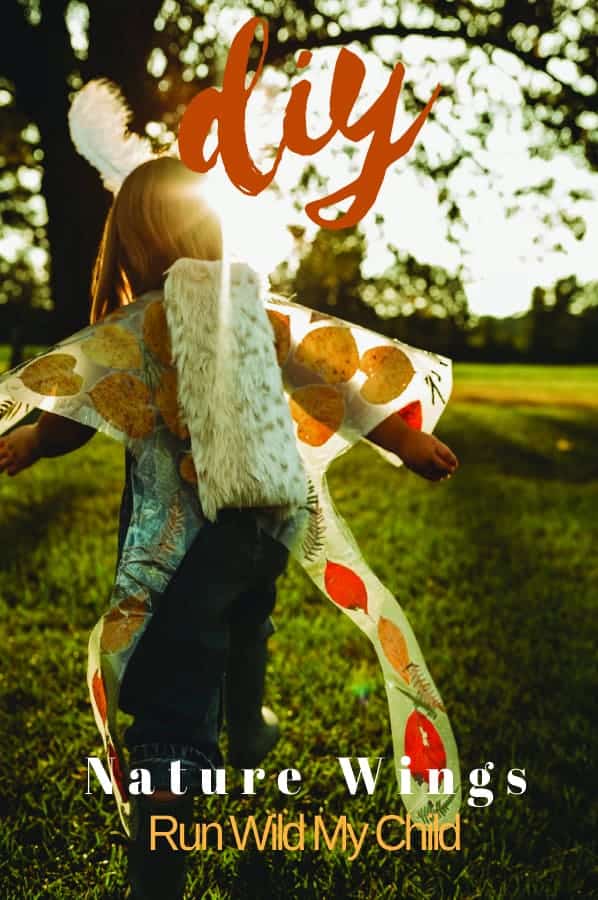
Give your child wings
There’s something absolutely magical about creating something together with your child that helps foster and inspire their love for nature. If you’re anything like me, you probably love craft projects that get your kids outside and also give them the freedom to be masters of their own creation. It’s hard letting go of control of craft projects, especially when we have a pre-set idea of how the project should turn out.
However, oftentimes I’ve found that the more freedom and flexibility I give my children to create on their own, the more I’m dazzled by their imagination and impressed with their skills of observation. This project started off as an attempt to make butterfly wings, but took a turn in a different direction, inspired by a moth we found and studied one day. As you work through this project with your kids, I encourage you to give them the reigns and let them design wings of their own choosing.

Materials
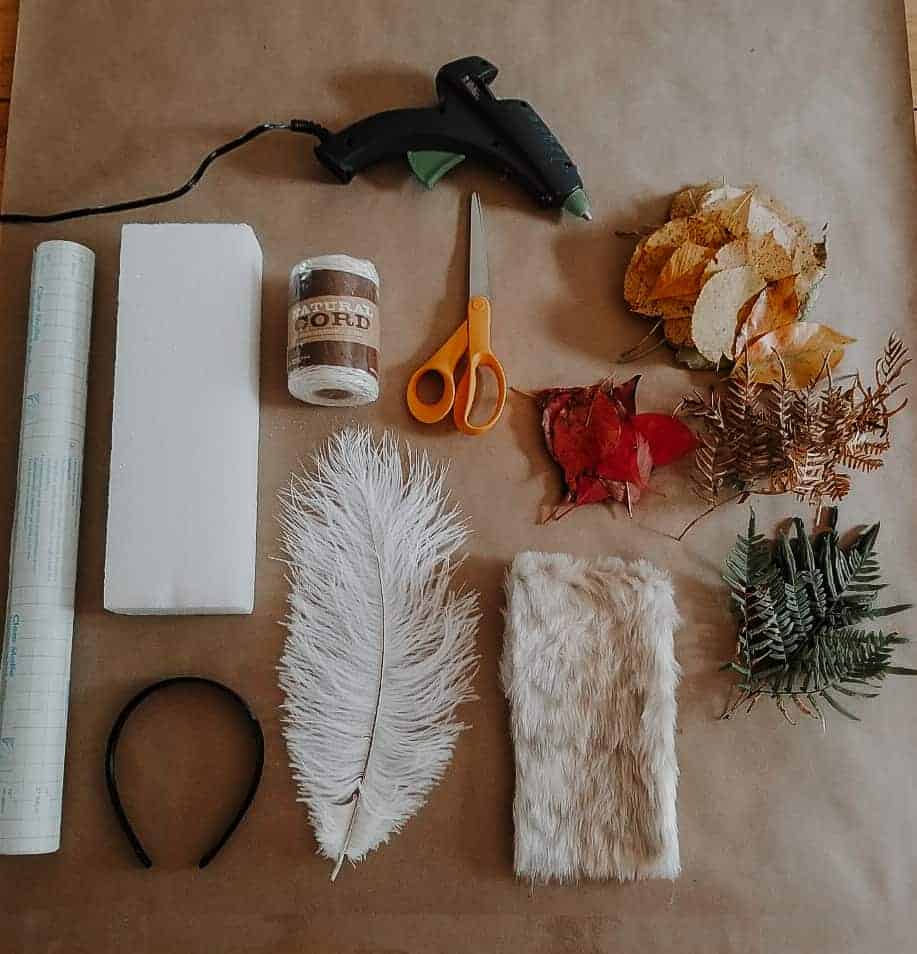
For this tutorial, anything not found in nature can probably be found lying around your backyard and craft closet. If not – a local craft store should carry everything you need! Some materials are optional for an added touch of make-believe magic. Here are the items you will need for your DIY moth wings:
- gathered leaves/foilage
- dried flowers
- 2 large feathers
- scissors
- ribbon/cord/string/elastic for wings
- 1 roll of clear contact paper
- piece of foam/driftwood/bark/cardboard (something to secure the wings to – can use anything but try to make it lightweight)
- hot glue gun
- faux fur/felt/moss
- headband
- pen/permanent marker
- packing tape
DIY moth wings instructions
As I mentioned, these wings are easier to make than I expected. And they turned out to be so incredibly beautiful! My daughter absolutely loves them and is so proud to tell everyone she sees that she helped make them. Here’s a step-by-step tutorial on just how we created these beautiful DIY moth wings for kids.
1. Get outside and gather
The first thing to do is get outside and gather your materials! We chose to use leaves in various colors (red, yellow, green and brown. Feel free to incorporate whatever you can find in your area, based on the time of year. Fall leaves work great for creating a moth-like wing, but feel free to incorporate bright colored wildflowers for a summer butterfly. We found that the best leaves were ones that were freshly dropped. They stuck to the contact paper best. Dried out crunchy leaves left no room for error if you have to readjust them on your contact paper! Gather quite a few leaves of various shapes, sizes and colors. Remember you need enough to cover two wings!
2. Contact paper setup & drawing
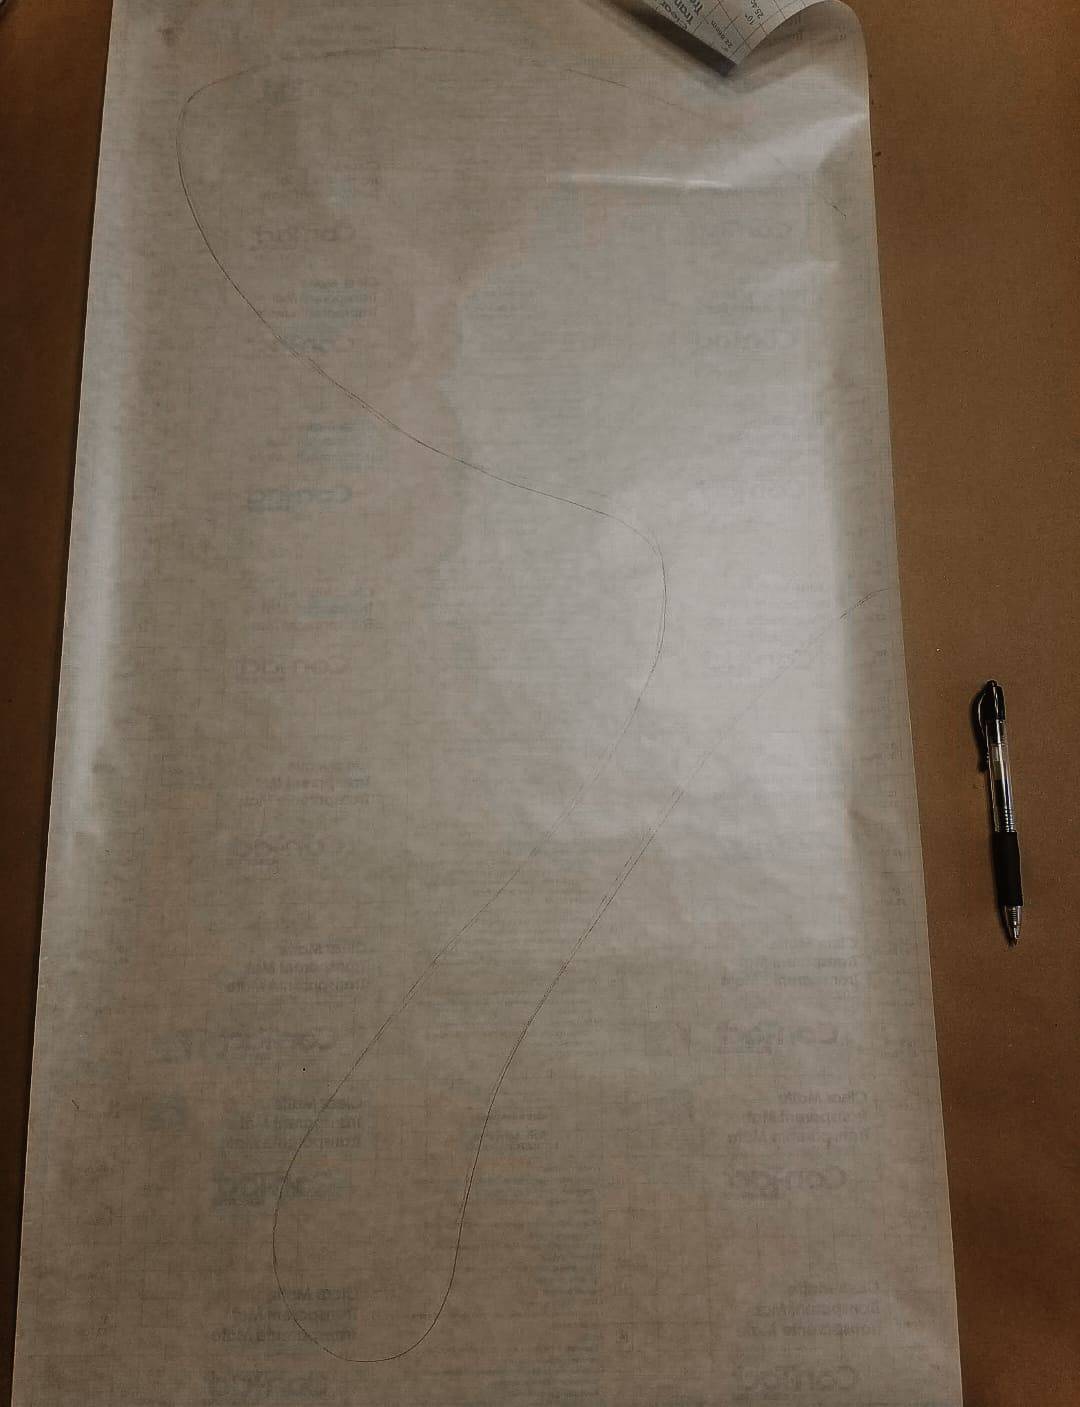
Unroll your contact paper (clear side up). Measure your child to determine how long to make the wings. I recommend sizing from your child’s neck to their knees. Once your desired length is achieved for your child, secure the paper with tape to the table. This will keep the contact paper from moving. Use a pen (or permanent marker) to draw out the shape of one wing starting from the left or right side of your contact paper. I recommend using a ballpoint pen so if you need to re-do your wing – you do not have to start over! The pen rubs right off! Once you’re satisfied with the shape of the wing, cut the shape out using the scissors.
3. Trace & repeat
Lay your cut wing on your contact paper facing the opposite direction (mirror) and trace your second wing. Cut out the wing shape with scissors.
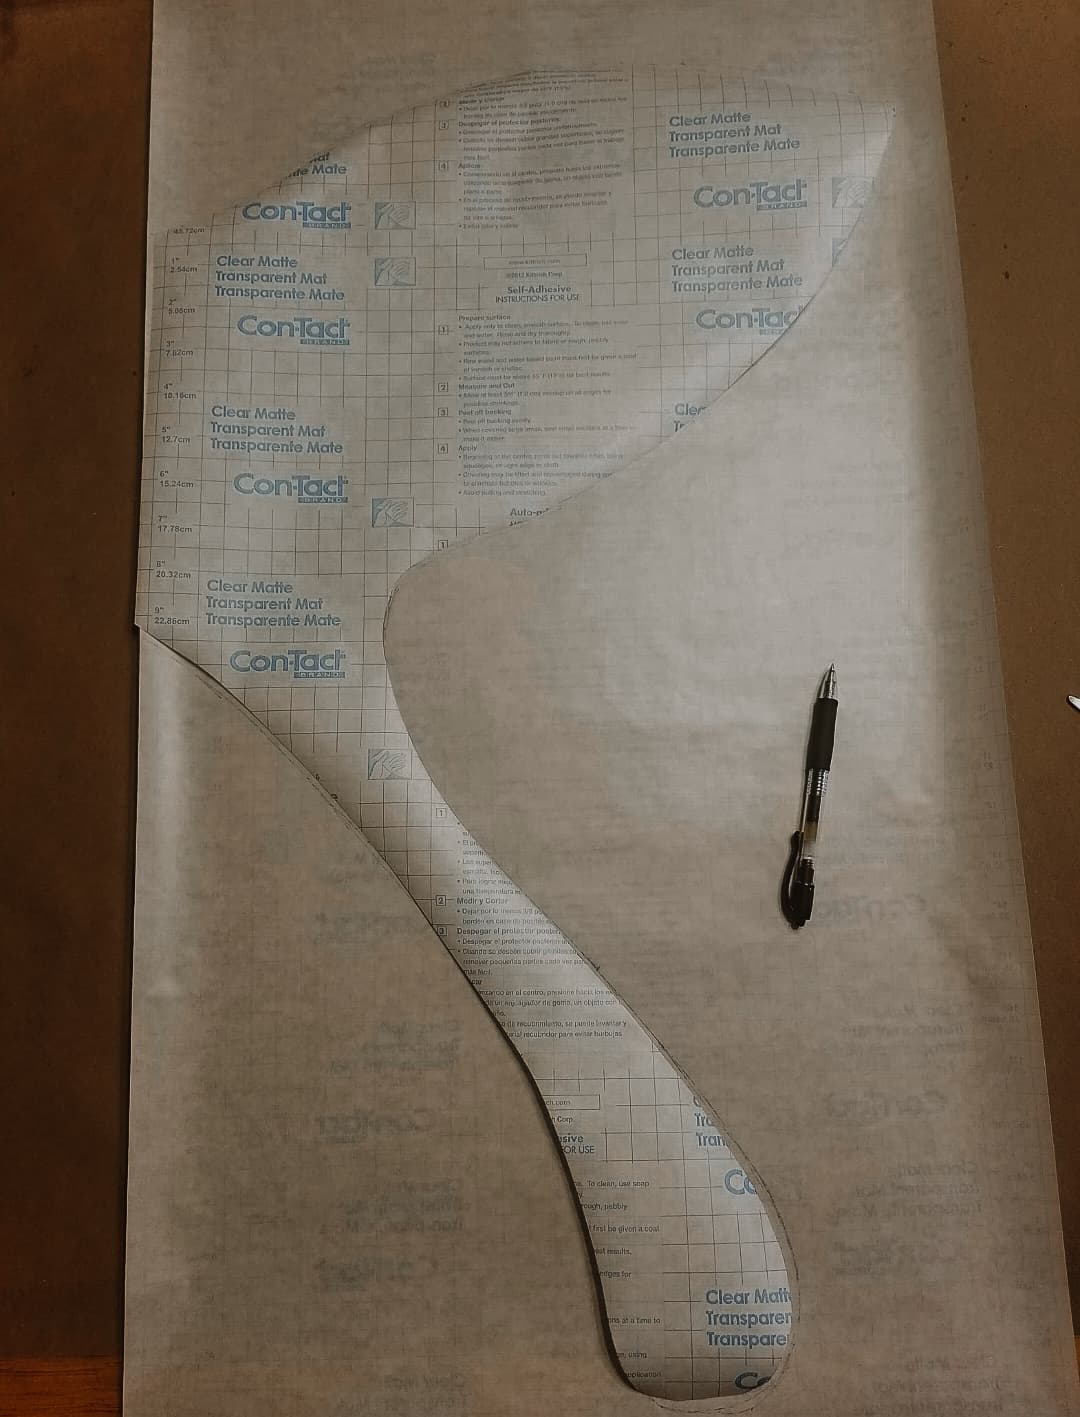
4. Peel & secure
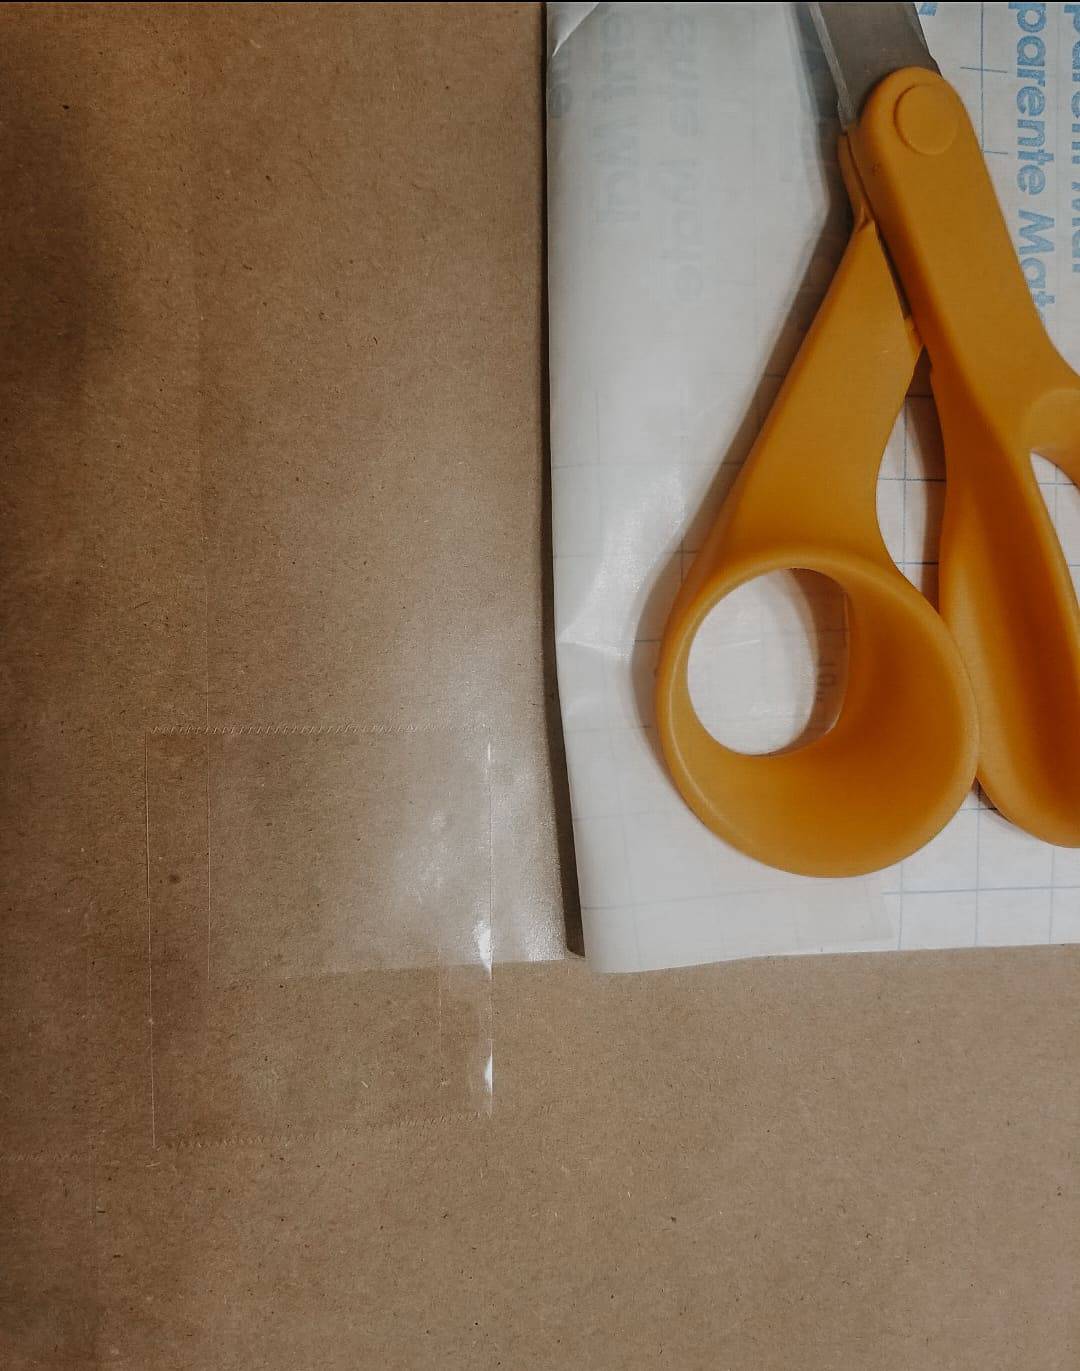
Remove the taped corners of the contact paper of both wings from the table and flip them over so that the wax side is up. Carefully, pull back the backing (waxy side) of the contact paper from both wings. Don’t throw away the backing yet! You’ll use that in a minute (see Step 6 below). Secure the corners of the wings to the table with tape. Now, your contact paper should be sticky side up and ready for adding leaves and flowers! 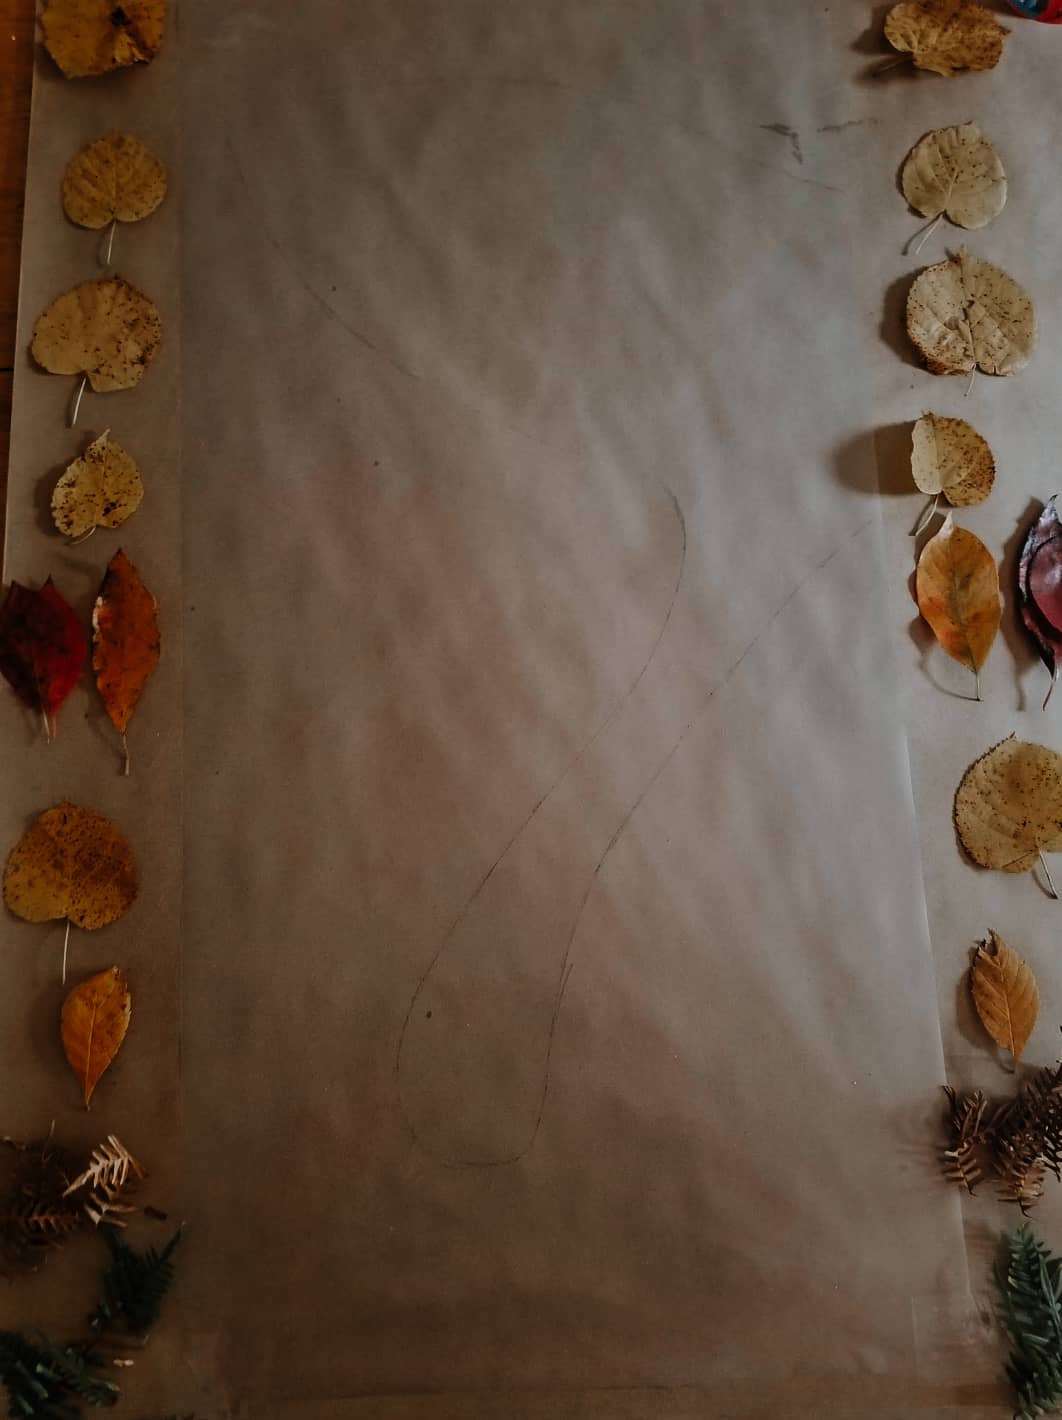
5. Add embellishments
Now is the fun part! Place your leaves and flowers on the contact paper inside the wing outline. Make sure to press them down as flat as possible! Have your kids choose patterns that mimic those they find on real butterflies and moths, or let them make-up their own. You can encourage kids to create mirror image wings or two totally separately decorated (and complimentary!) wings. Whatever you choose to do, allow their creativity to shine.
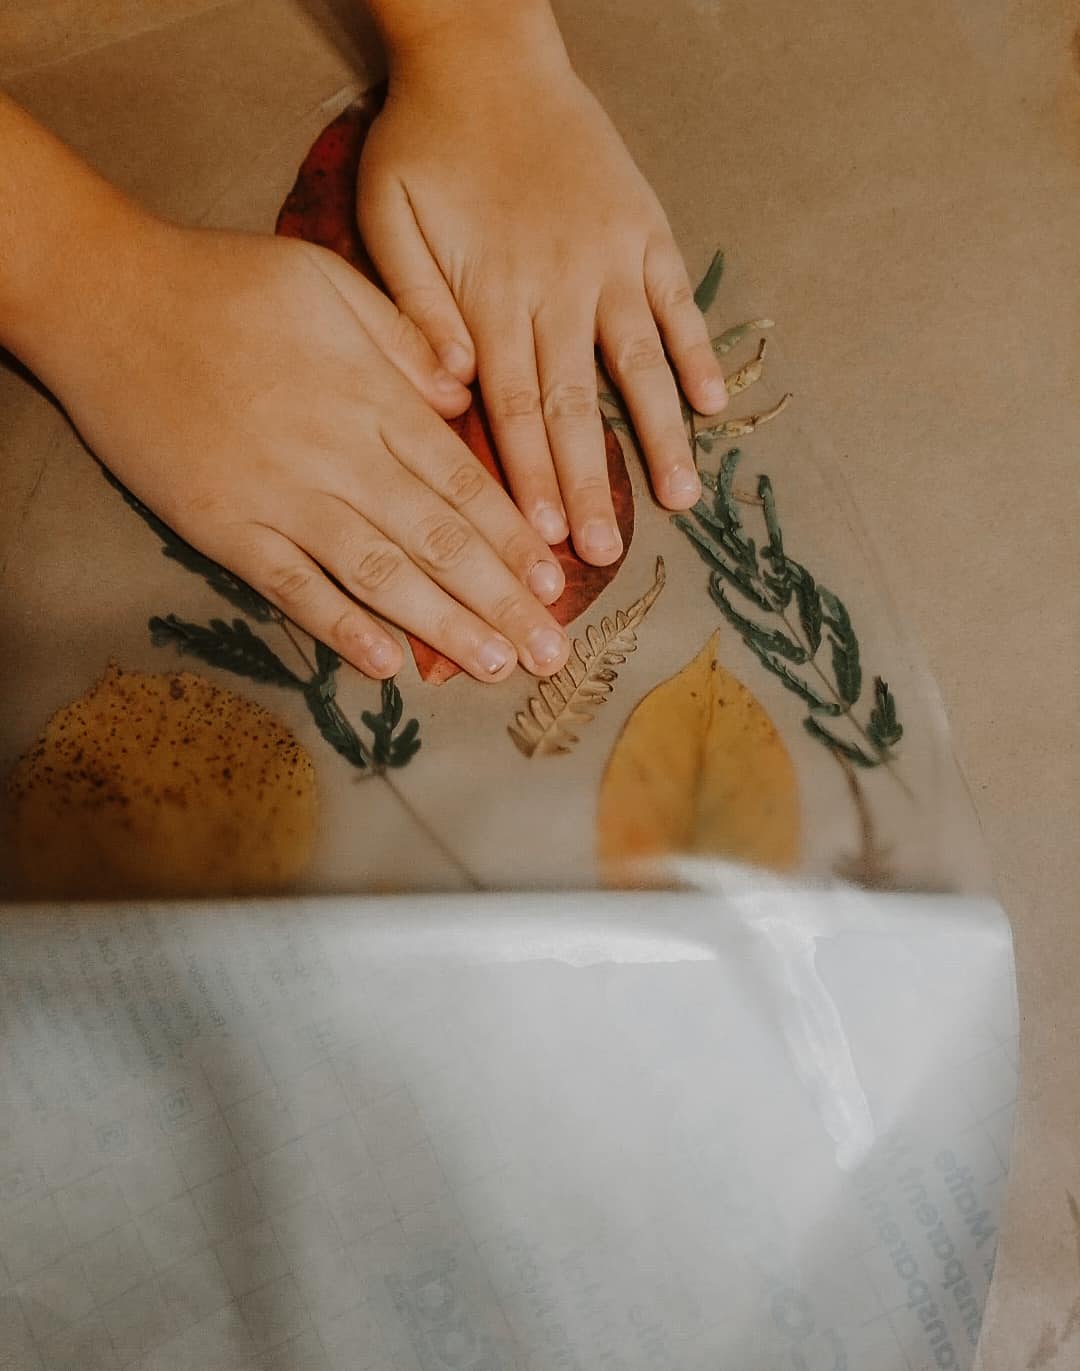
6. Trace the backing
Use the backing of the previously cut-out wings to trace another set of wings on the Contact paper. These wings will serve as the top layer to the wings with the embellishments on them. Cut them out and remove backing. Very carefully, place the wing directly on top of your newly decorated wing sealing in your leaves/flowers. Do this with both sides! 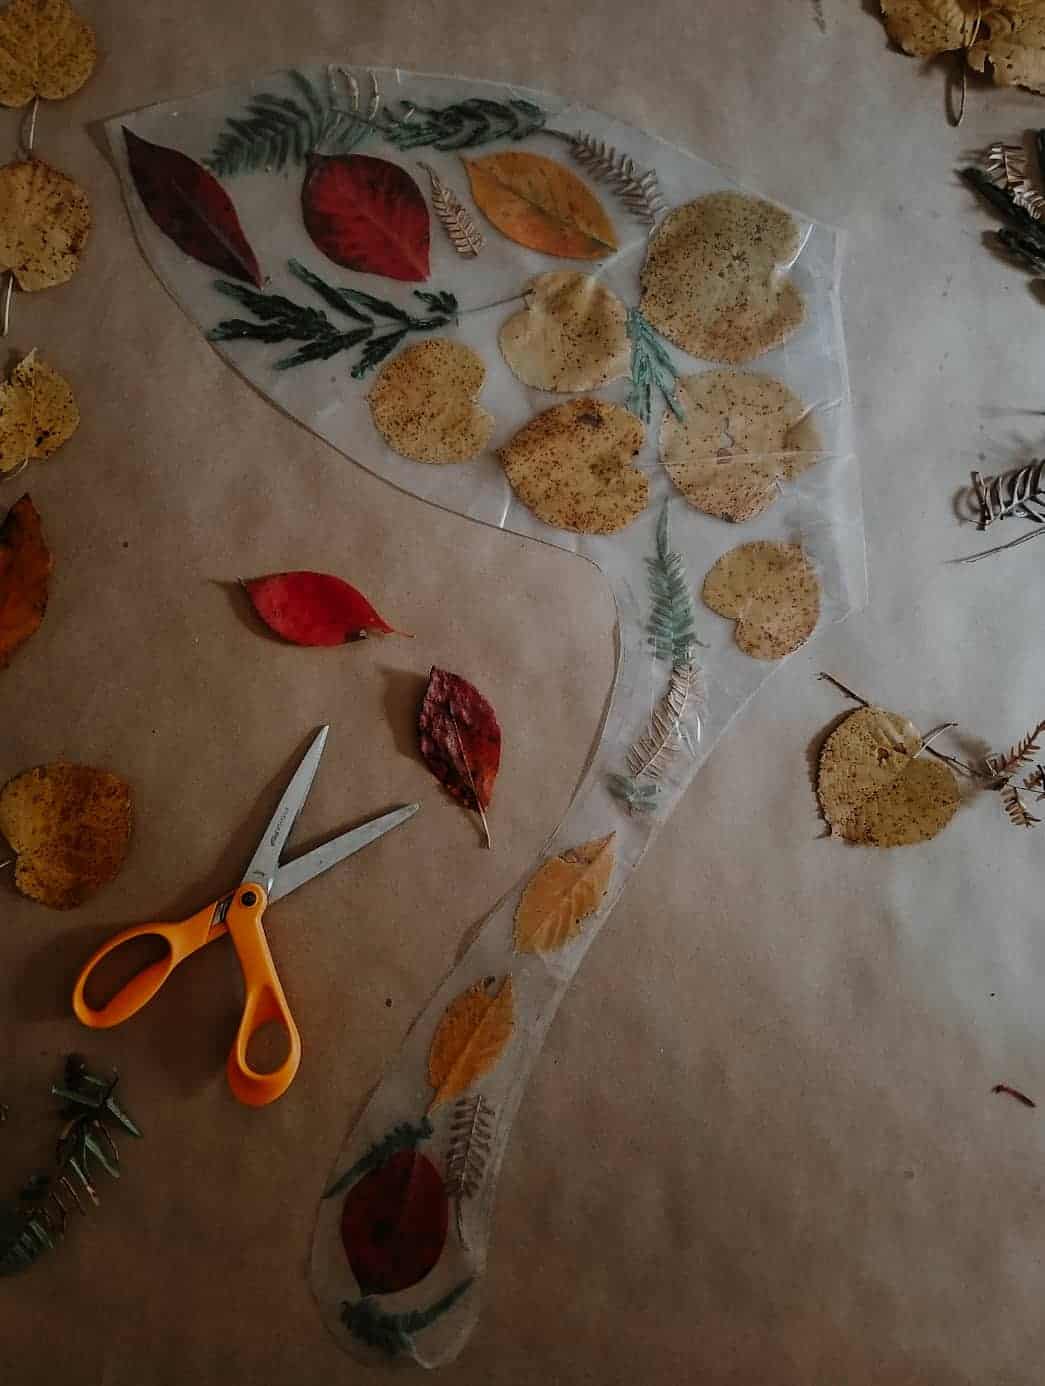
7. Prep your foam
If you’re using a foam piece for the center of the wings, consider covering it with some faux fur or moss or something natural-looking. We used a hot glue gun to secure a piece of faux fur to our foam to give it a natural look, like a moth. If you don’t have foam, you could also use a piece of driftwood or bark, a bundle of sticks or a piece of cardboard or wood.
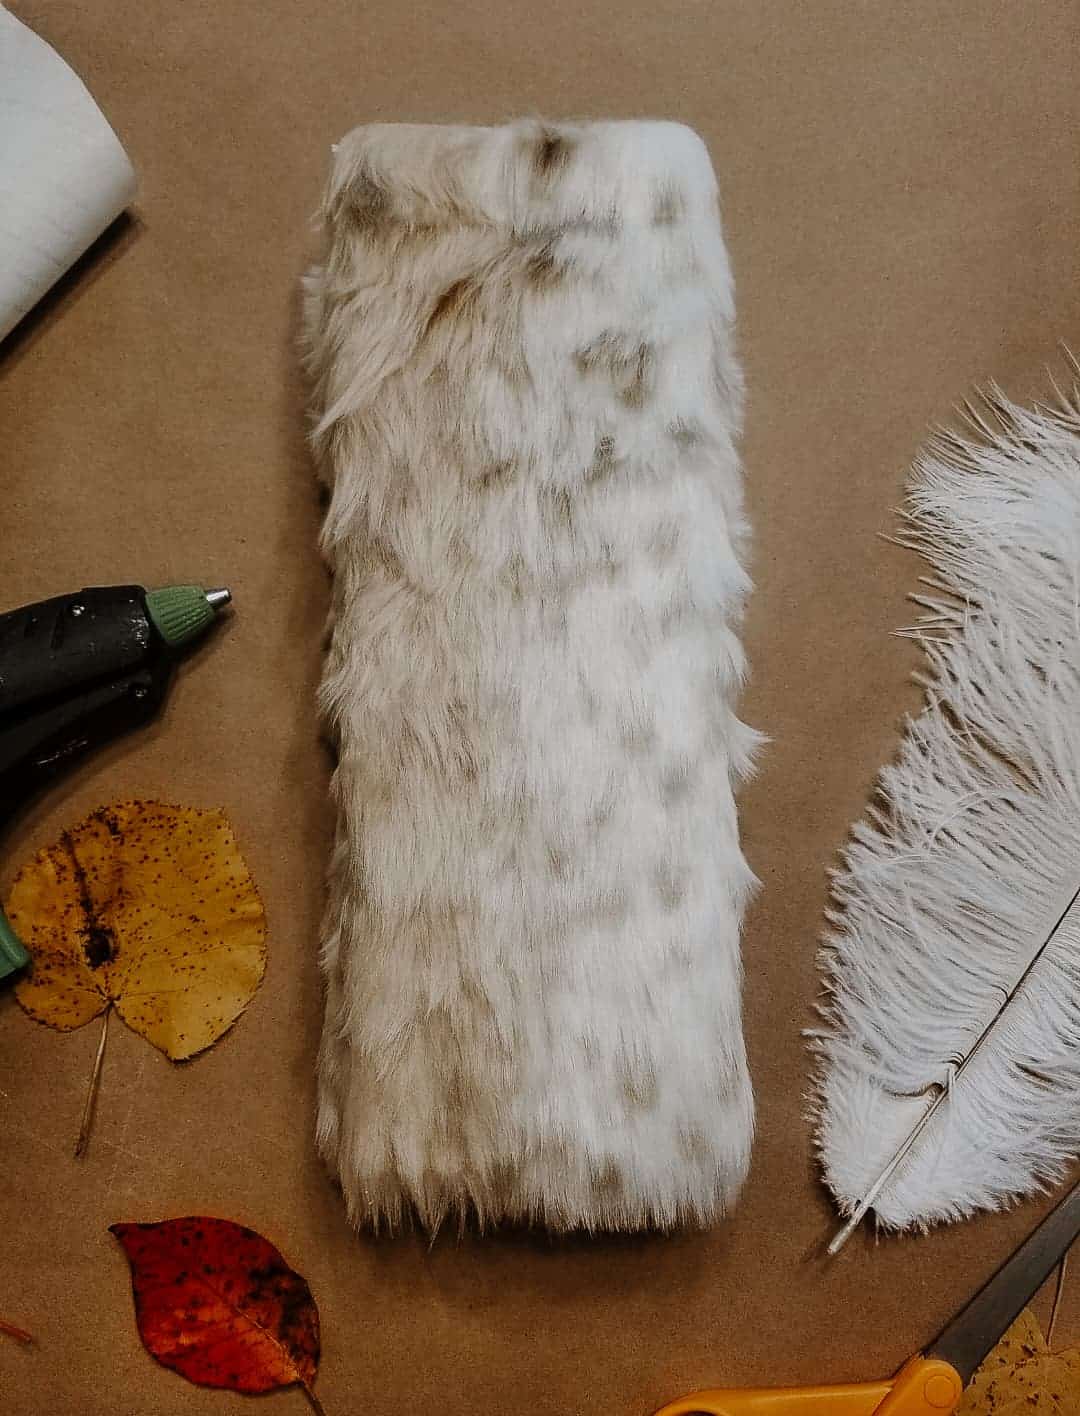
8. Prep the wings
Using your hot glue gun, run a long line of hot glue down the center seam of each wing and secure to the centerpiece (of foam, wood or what-have-you). Glue each of the wings to the foam and hold securely in place until they cool. Allow them to dry. Next, cut out four 20 inch pieces of string/ribbon/elastic. Flip the (foam) base over and use your glue gun to secure 3-4 inches of string on to the back of the foam on each corner allowing the extra lenth to lay vertical while it dries. This will create two loops for your child’s arms.
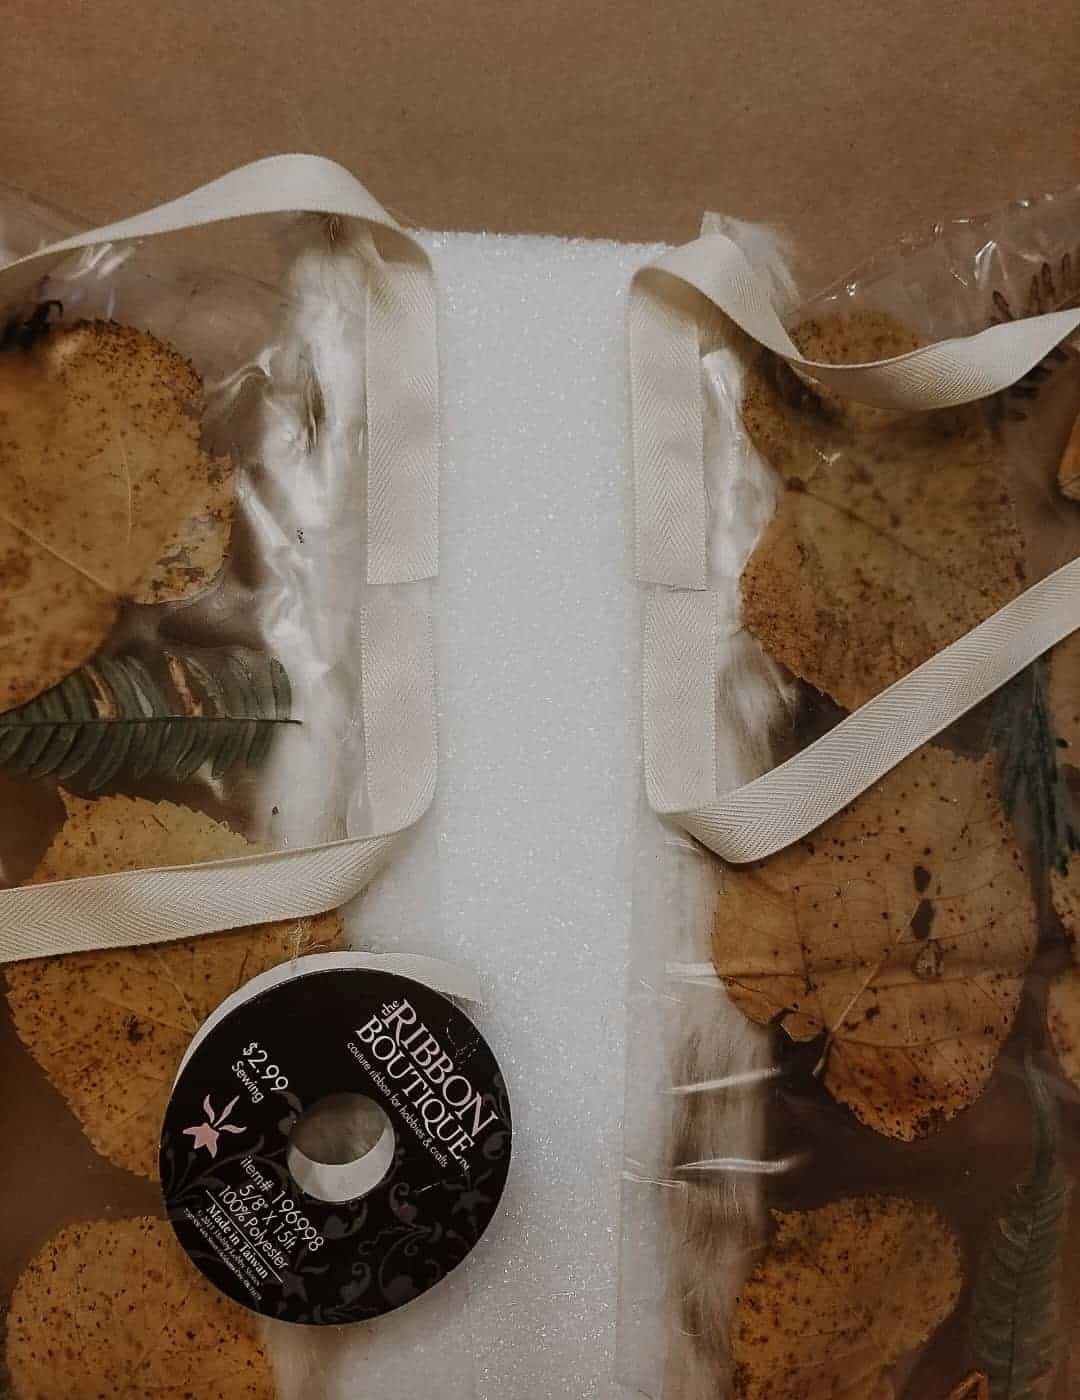
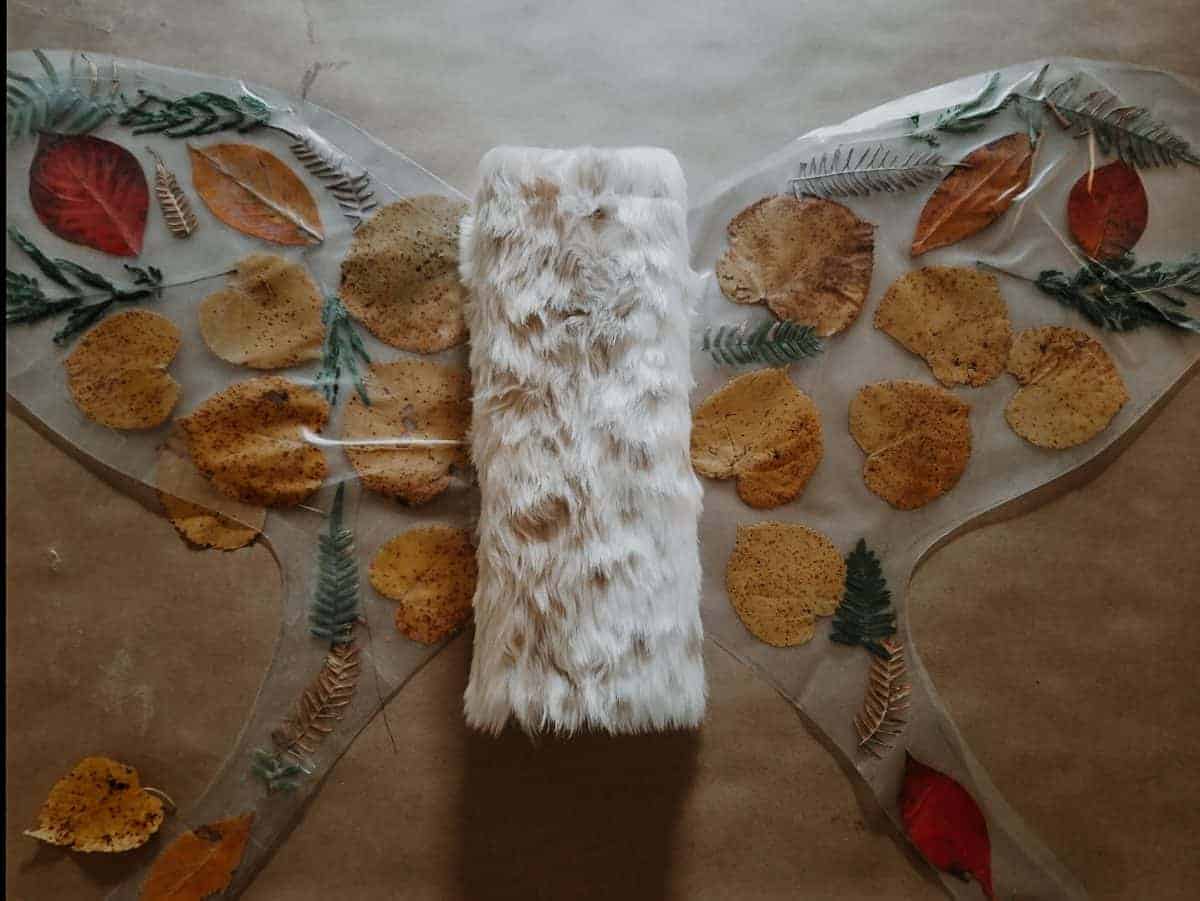
9. Make the antennae
If you want to go above and beyond, you can create some really cool head antennae to go along with your wings. All you need to do is use the hot glue gun to glue two large feathers onto a headband to create awesome moth antennas! This gives your get-up a little something extra!
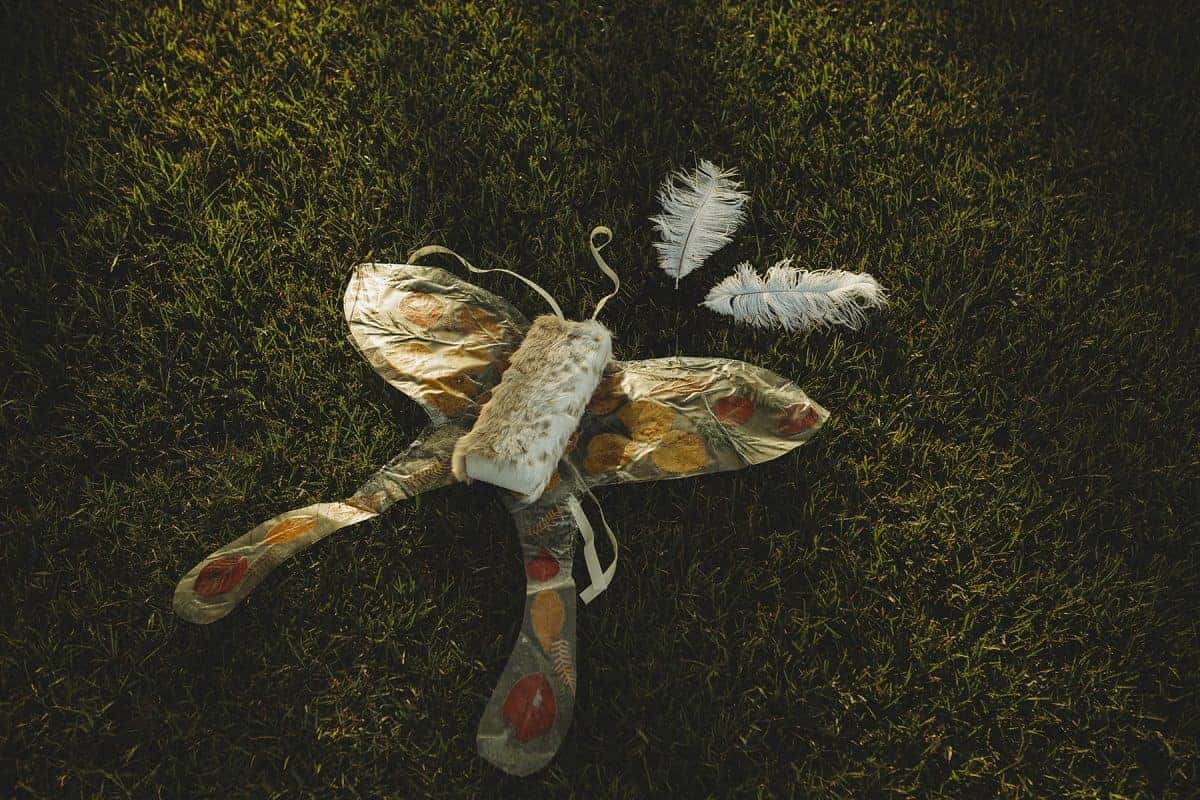

10. Take your wings for a test flight!
The last thing to do is tie your DIY moth wings on and watch your little one FLY! Seeing your child love and enjoy their hard work is by far the best part of any craft. Hopefully, this fun project will inspire lots of wonderful conversation and curiosity about our winged friends. Encourage your child to take flight, like the moth. Have them mimic butterfly behaviors and find their favorite foods. Allow their creativity to shine and nurture their love for nature along the way.


 About the author
Tiffany is a homeschooling mama of three earthside children and one baby girl that travels among the stars. She is a vintage obsessed, wicker collecting, tree-loving photographer, creator, painter, writer and loves to document her children’s childhood and is passionate about sharing her take on motherhood, raising children outside of the “norm” and in nature.
You can find more from Tiffany online in the following locations:
@wild.things.grow


1 comment