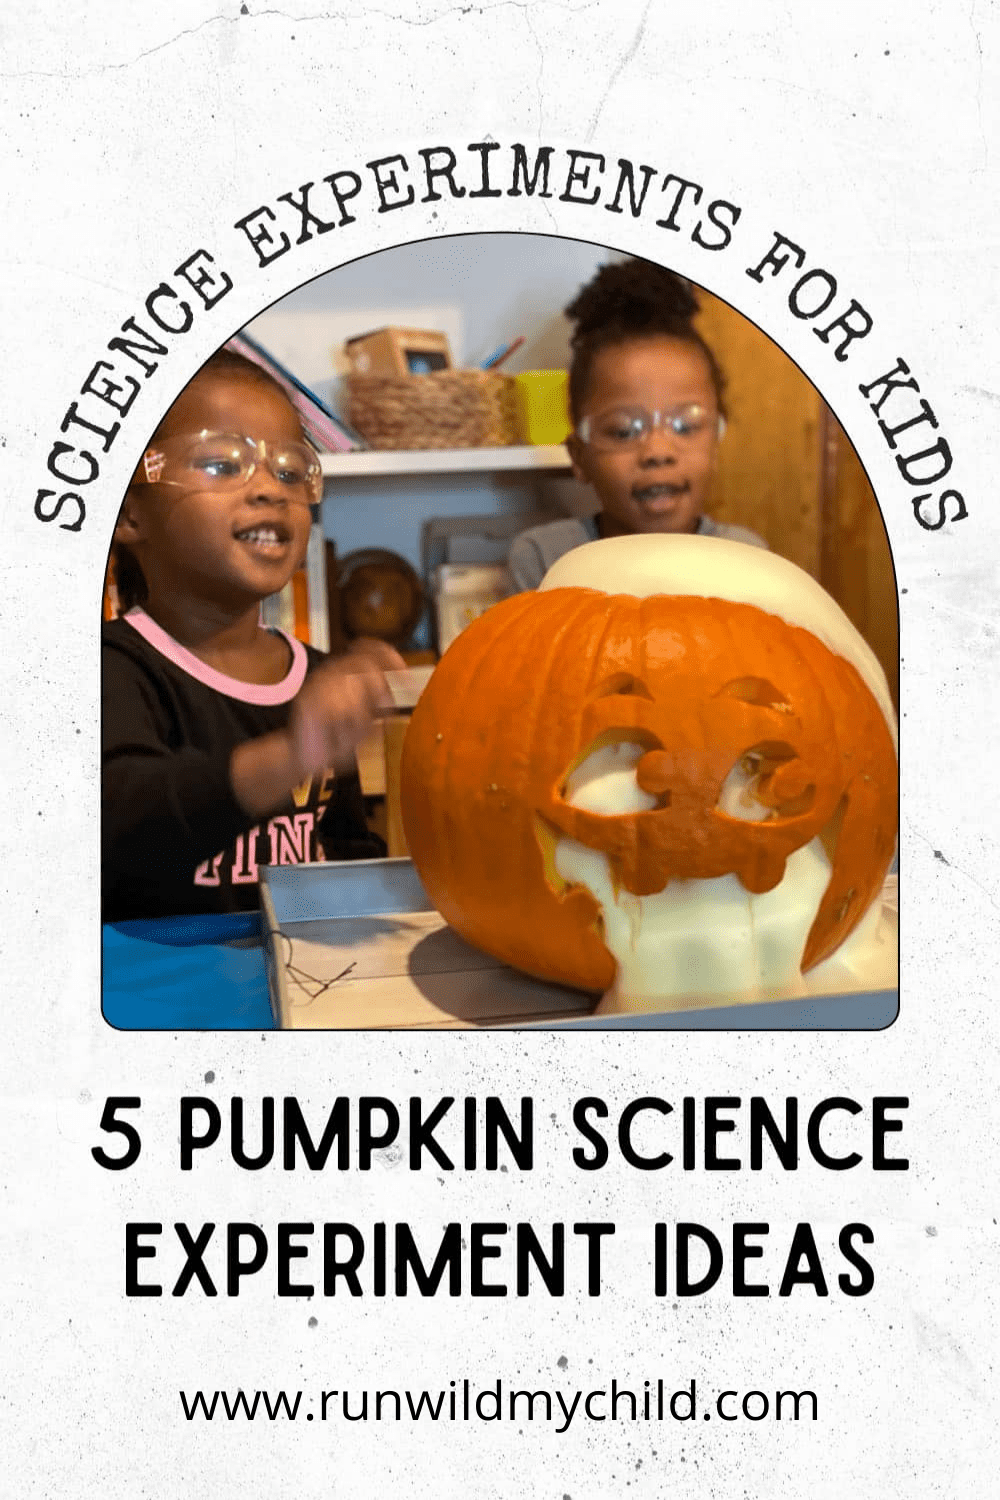
Looking for a fun way to utilize those pumpkins from the patch, while teaching kids about science? Look no further! Today, Texas homeschooling mom Lauren Cain is here sharing four amazing pumpkin science experiments for kids. She’ll walk you through how to make pumpkin bubbles, pumpkin slime, pumpkin elephant toothpaste, and how to dissect a pumpkin. Get your little scientists excited for fall and Halloween with these fun experiments.
Pumpkin science experiments for kids
‘Tis the season of the pumpkin. There are many clues that tell us that Fall is officially here. For some of us, we know that Fall is here because of the change in weather or leaves turning from green to brown. Well, in our house we know that Fall is officially here when we are suddenly surrounded by pumpkin–EVERYTHING.
There’s something about pumpkins that piques the interest of children and adults alike. They’re just fun. Do you know what else is fun? Easy-to-follow science experiments that you can do with your children.
So, why not combine the two and try some fun pumpkin science experiments with your kids? This post features simple and low prep pumpkin science experiments that I have done with my children. They absolutely loved it, and I am sure your children will too!
The bubbles, oh the bubbles!
Who doesn’t love bubbles?! There’s a really interesting science behind the making of bubbles that is fascinating to learn. If you want to turn this activity into a fun lesson I would suggest watching a few YouTube videos on bubble science for kids. My children especially liked Fun with Bubbles by SciShow Kids. Or, you could just get straight to the bubble blowing.
Did you ever blow bubbles in your drink as a child (even though your parents would constantly ask you to stop)? Well, the pumpkin bubbles experiment is just like that. What’s great about this experiment is that it is very low prep and aside from the pumpkin, you probably already have everything that you need for this activity.
How to make pumpkin bubbles
Materials needed are:
- Pumpkin (smaller pumpkins work best for this activity)
- 2 tablespoons dish soap (any brand will work)
- Straw
- Dash of water
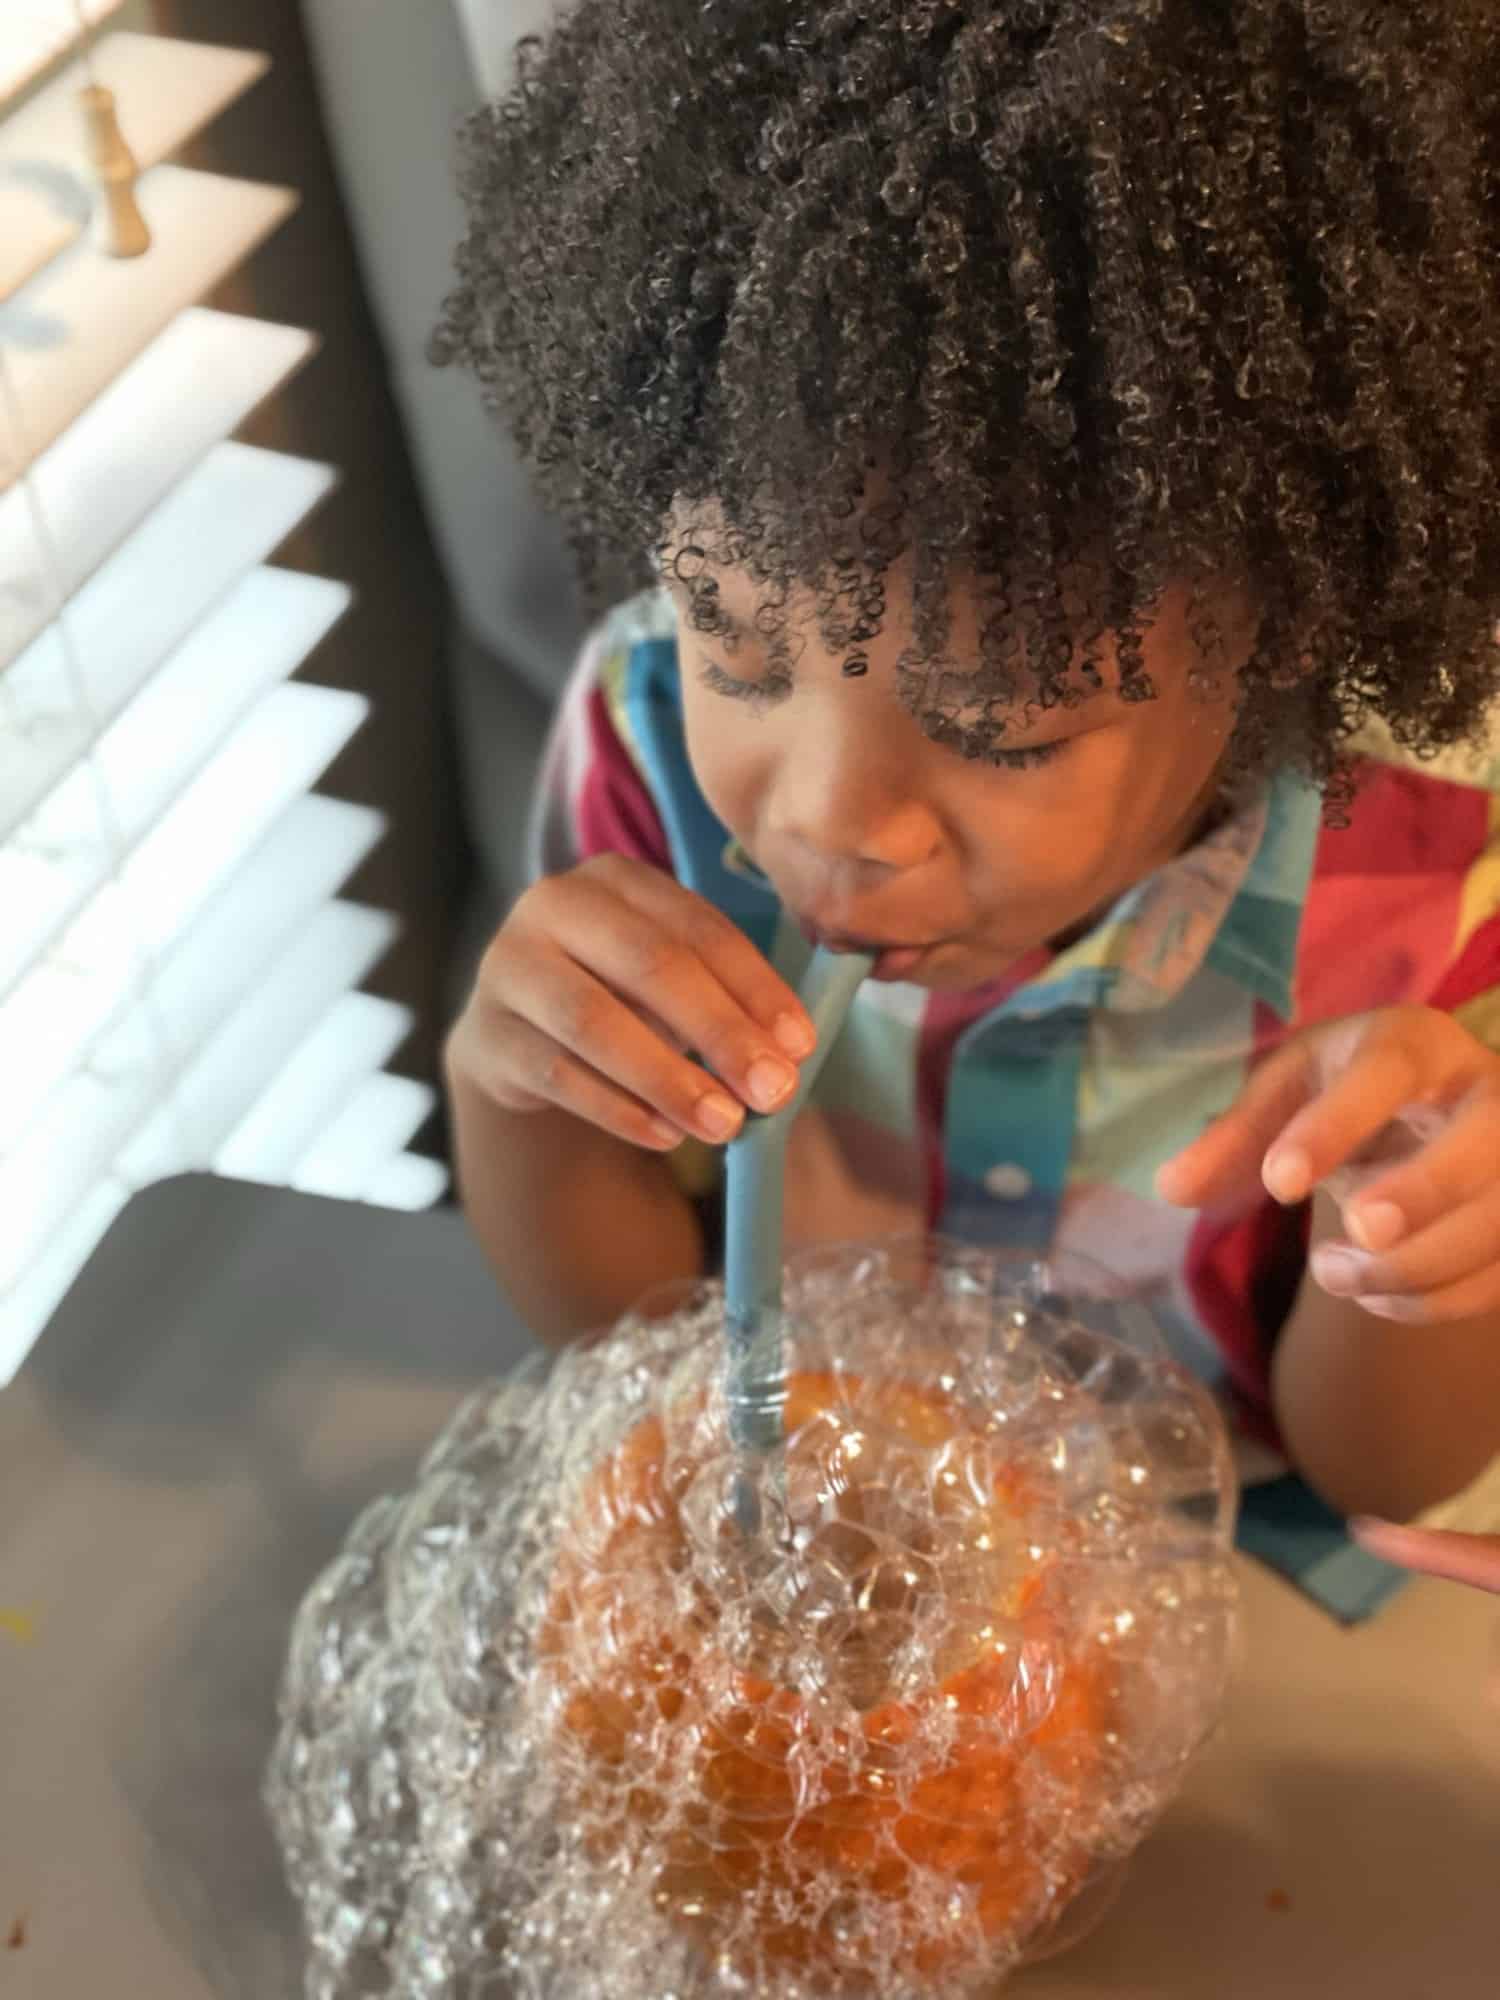
Put the soap in your hollowed-out pumpkin and add a dash of water. Insert the straw and then let your children blow bubbles until they spill out the top of the pumpkin.
Remind your little one to blow OUT and not suck in because a mouth full of soapy water is no fun at all. My son got a small taste of the soapy water and was not pleased.
Also, note that the quantities of the ingredients aren’t exact. Experiment with less or more soap/water to see if the outcome changes.

Pumpkin slime
Ok, I know that slime is like Voldermort ( I mean “He Who Must Not Be Named”) in some households. But, hear me out. Can it be messy? Yes. Is messy play important to the development of our kids? Also, yes!
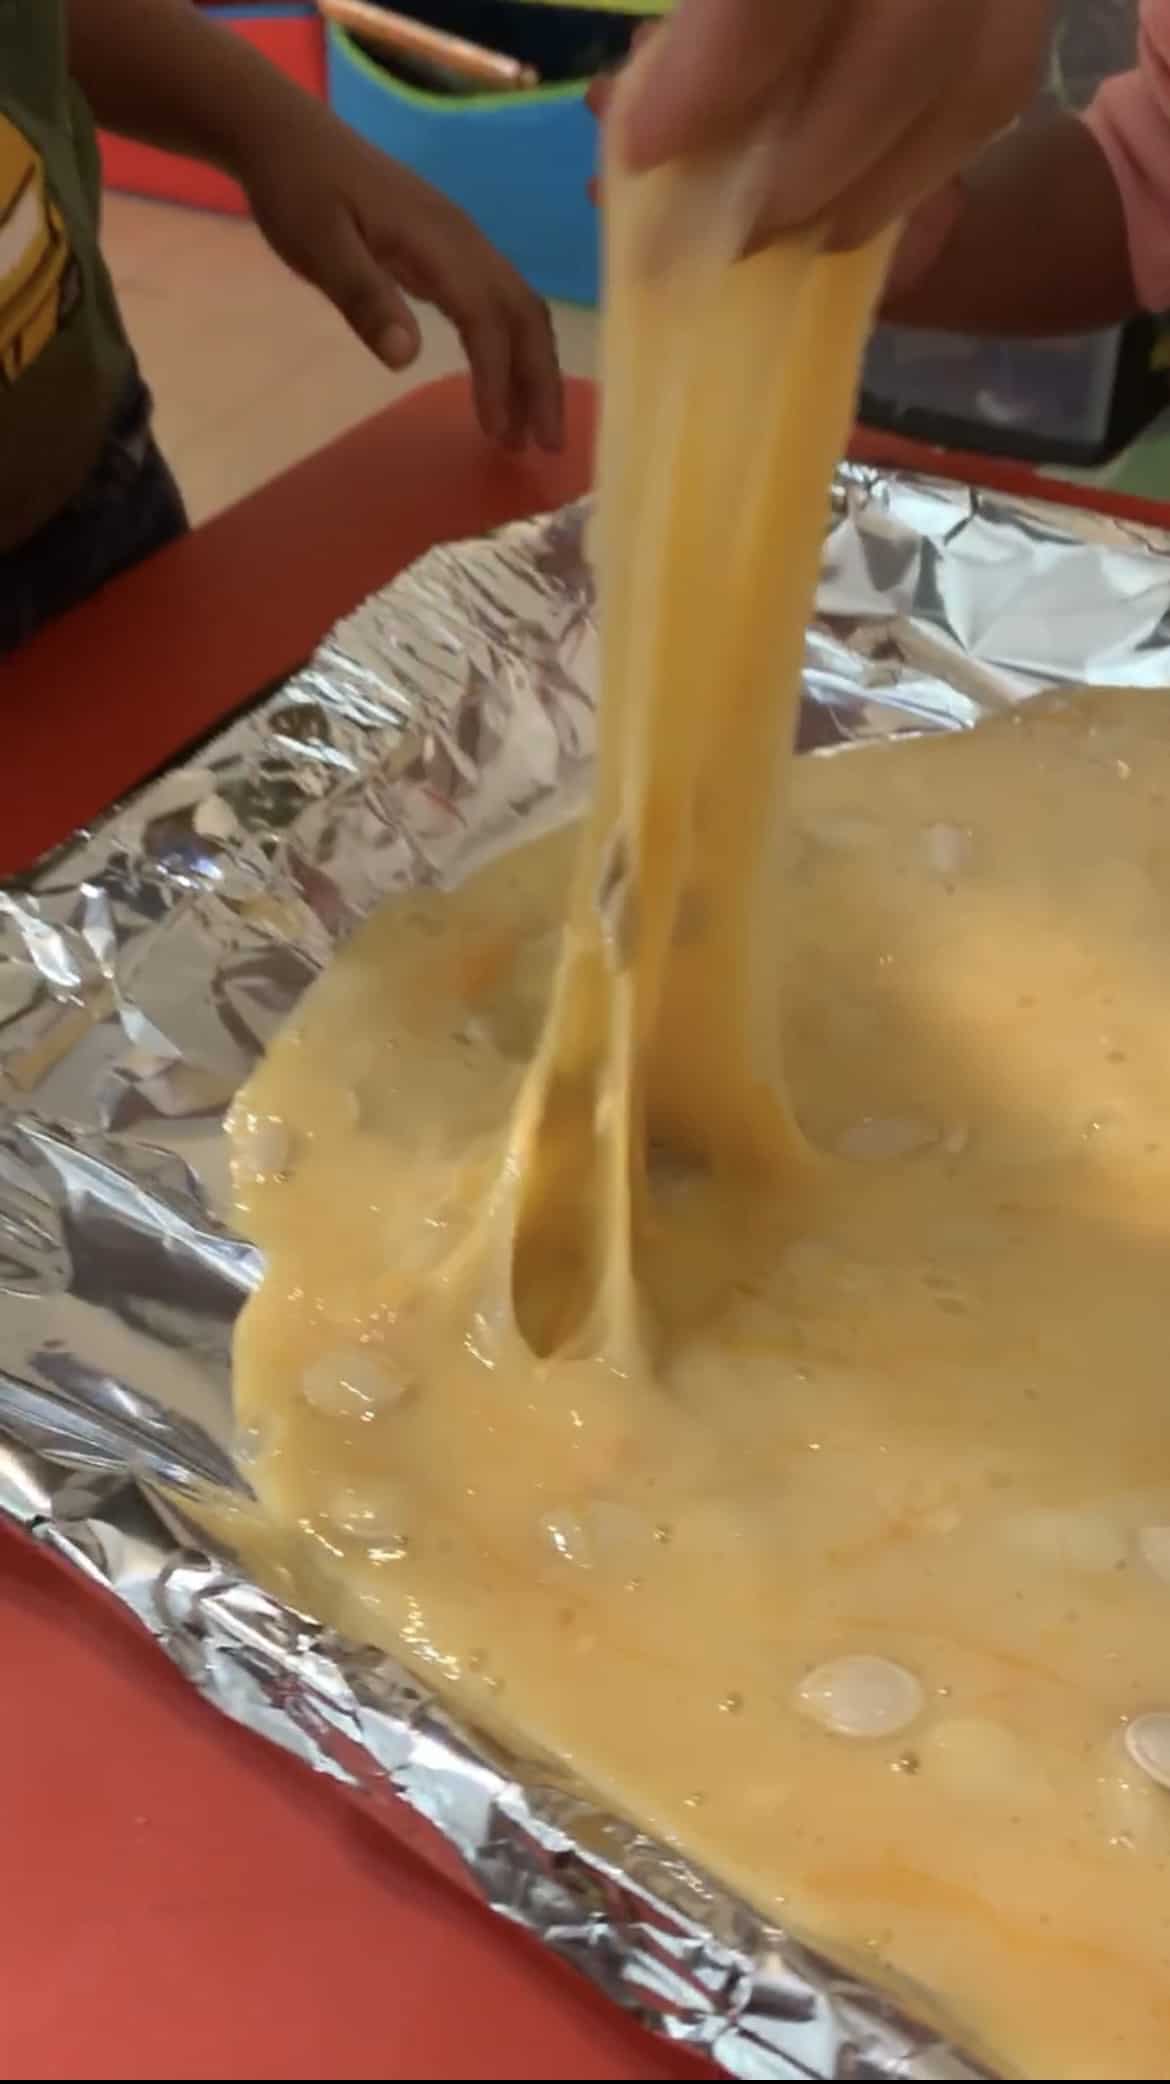
Making slime can be a lot of fun and promotes great sensory learning which is important especially for early learners. This pumpkin slime recipe is made with the fibrous strands and seeds from the pumpkin which gives it a cool textural feel that is unique from the typical slime. So, give it a try!
Here’s what you need to make pumpkin slime:
- Pumpkin guts (aka the seeds and such from inside your pumpkin)
- Clear glue (about two small bottles or 18 oz )
- Liquid starch (1 cup)
- Water (1 cup)
How to make pumpkin slime:
Scoop out the seeds and fibrous strands from your pumpkin and set them aside. Pour the glue into your empty pumpkin and then add the water. Add the pumpkin guts back to the pumpkin. Carefully, mix them together. Grab your liquid starch and it to the glue and pumpkin mixture slowly.
At this point, we mixed with our hands because it seemed easier. But, if stirring with a spoon works for you then go for it. Keep stirring or mixing with your hands until the slime begins to come together as one and is not sticking to your hands or spoon. If it is still sticky, add more liquid starch a tablespoon at a time until the right consistency is achieved.
That’s it! Now you have pumpkin gut slime!
Pumpkin science investigation
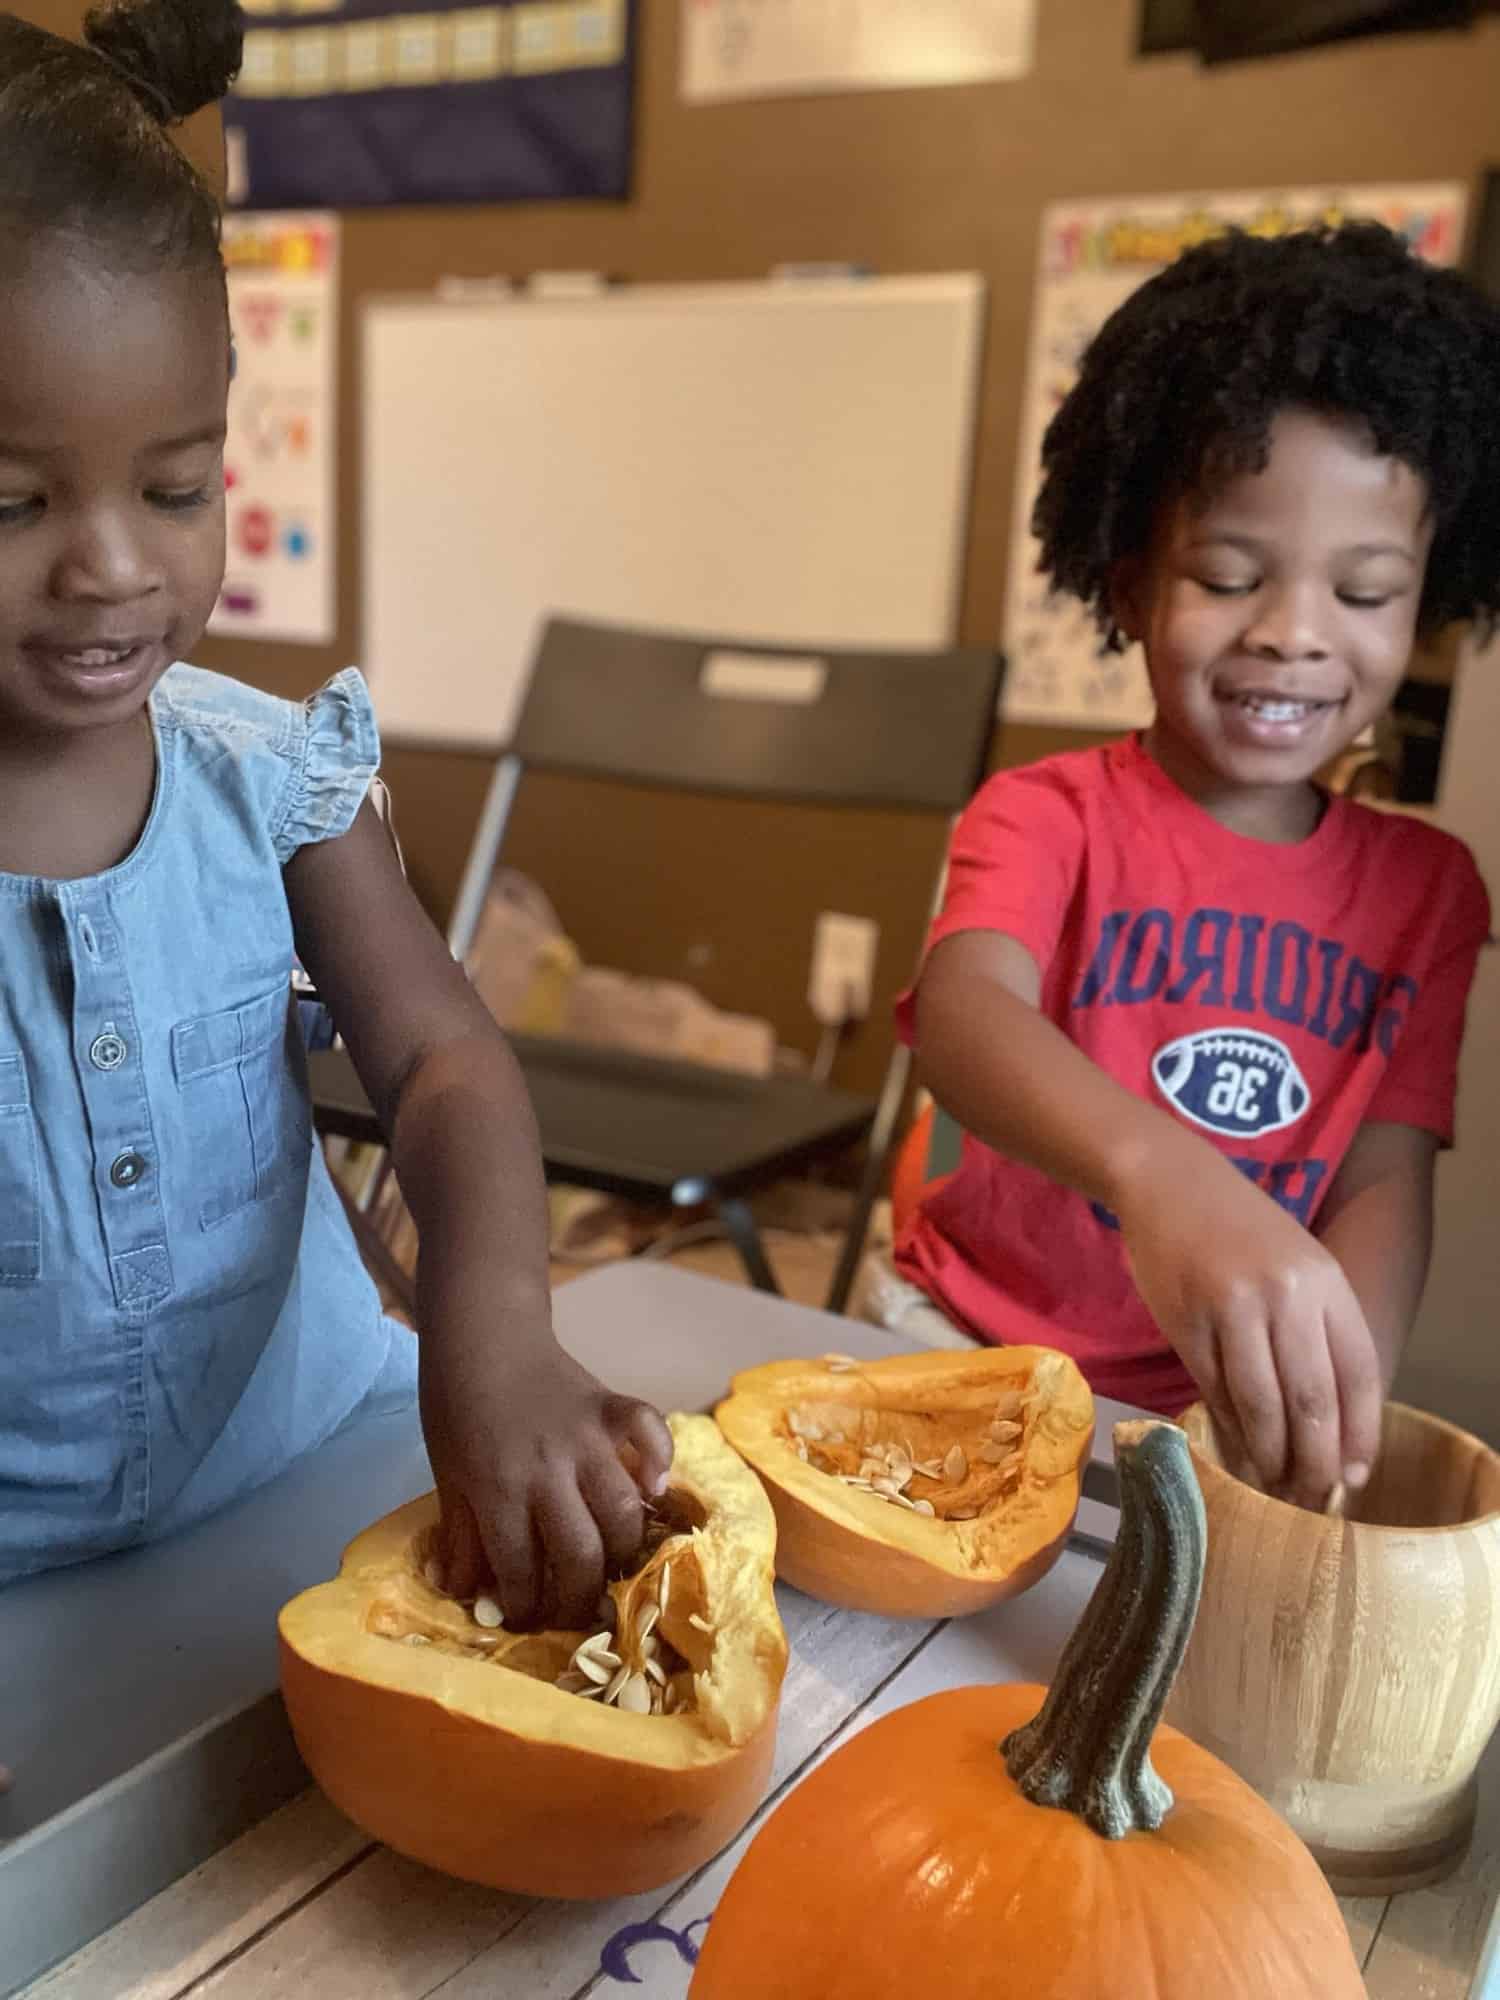
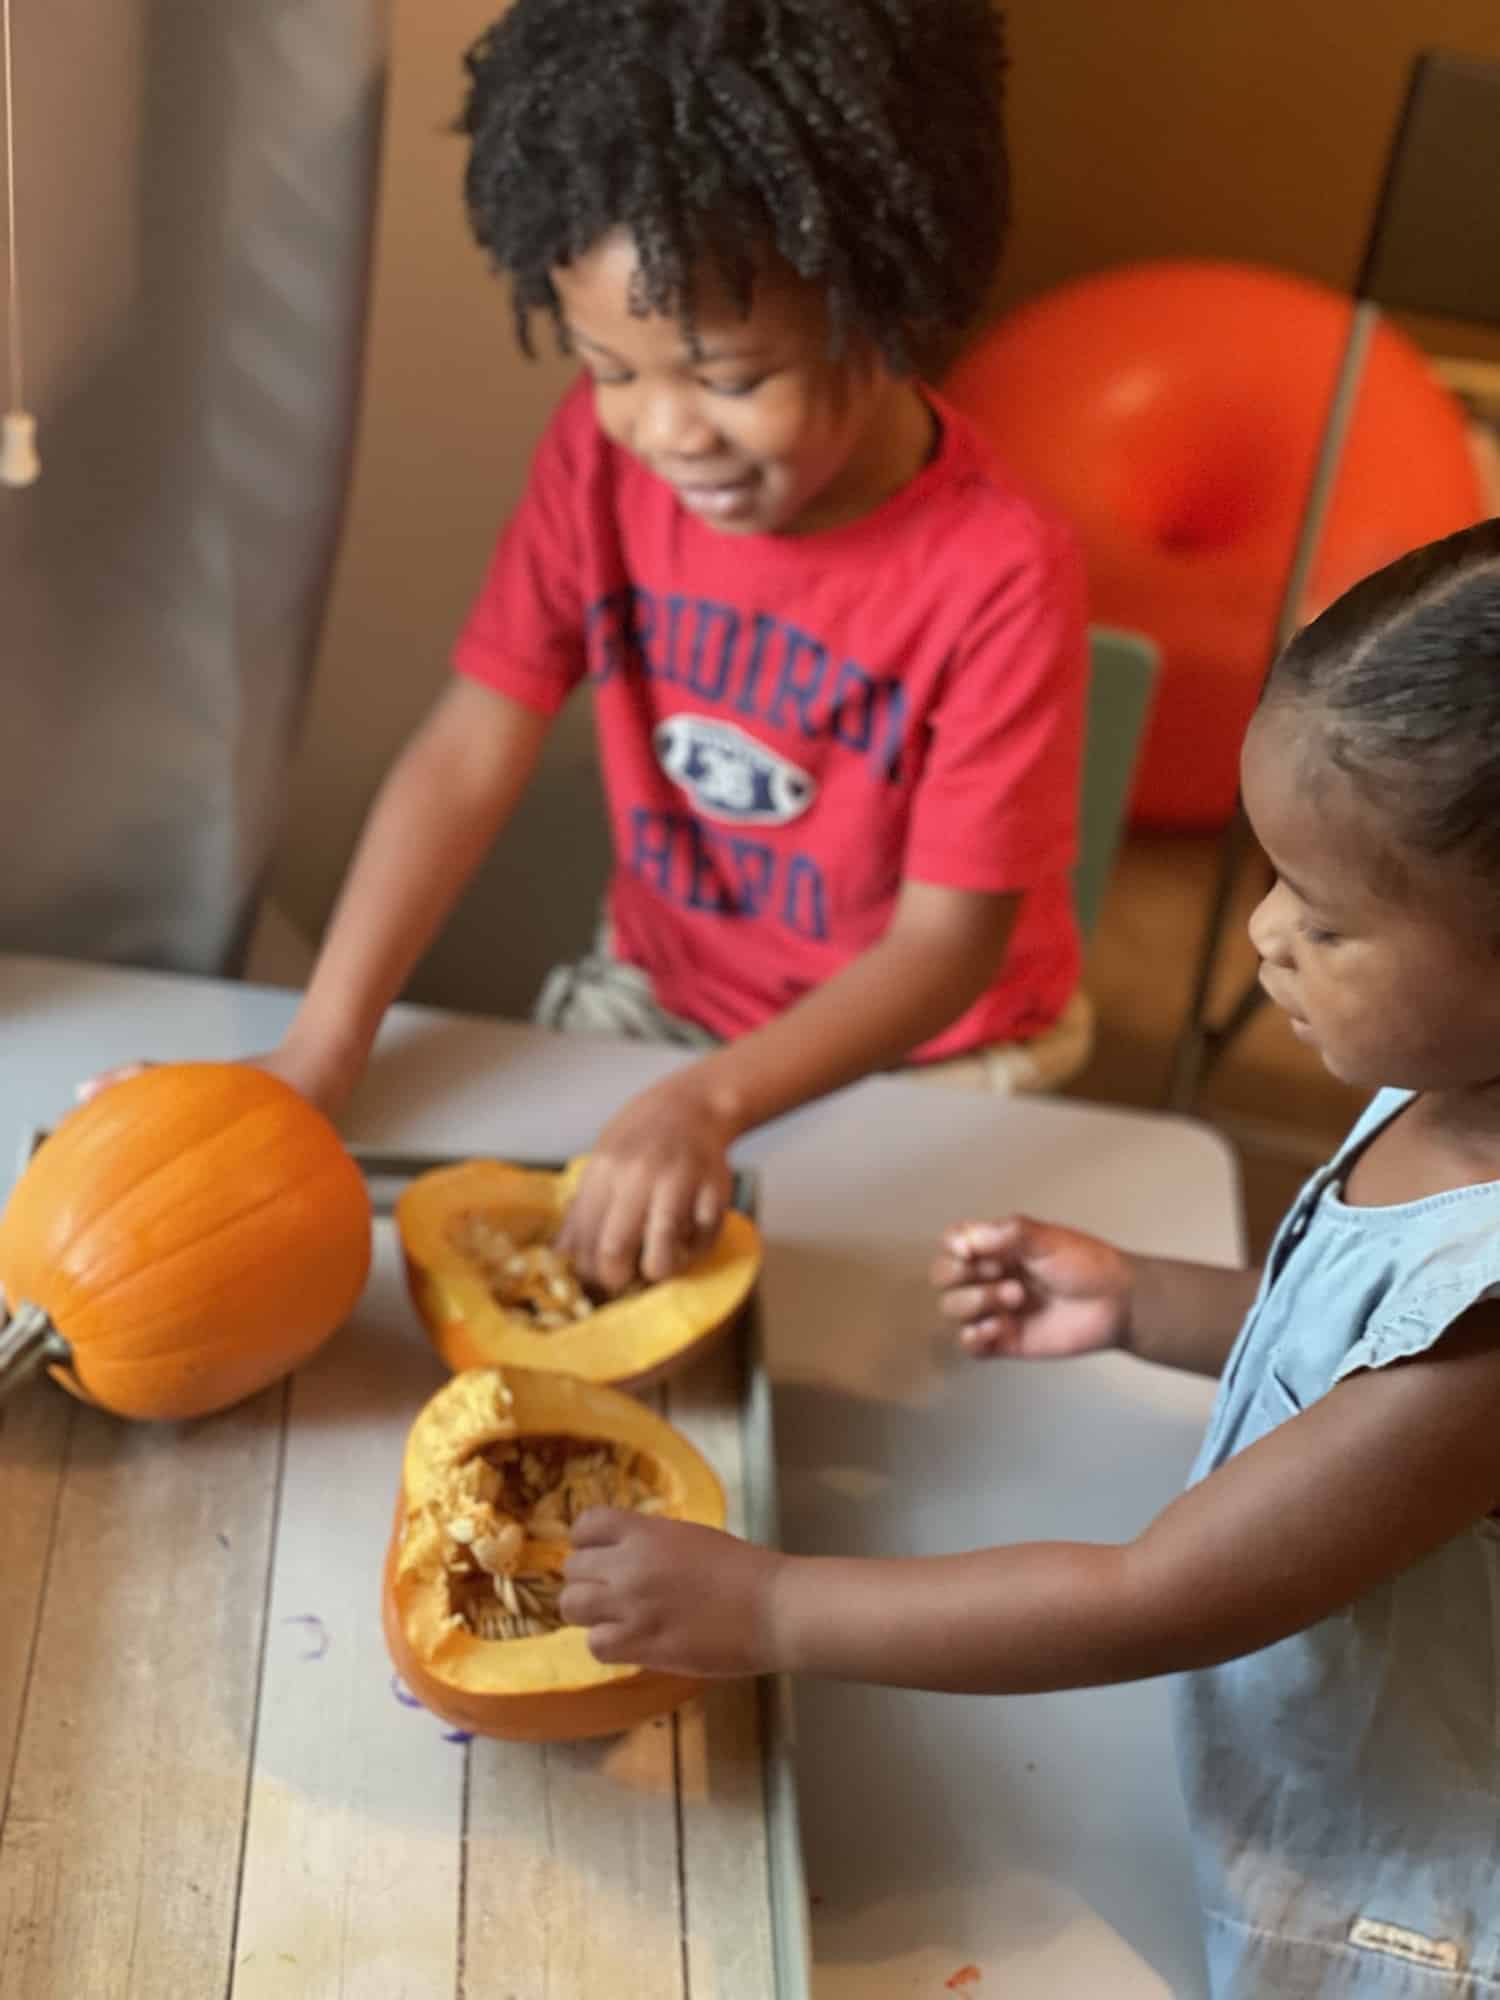
You’ll be hard-pressed to find a child who cannot recognize a pumpkin. However, opening a pumpkin up and discussing the parts of a pumpkin and the pumpkin life cycle make for a fun learning experiment.
You can take it a step further and have your kid(s) separate the seeds from the fibrous strands and discuss how they are different, but still work together. For this activity, all you will need is a pumpkin (a smaller one may work best for this purpose) and a knife to cut it in half.
It’s simple, but it is also a very interesting activity and allows kids to have a different perspective and perhaps a new appreciation for the pumpkin.
Pumpkin elephant toothpaste
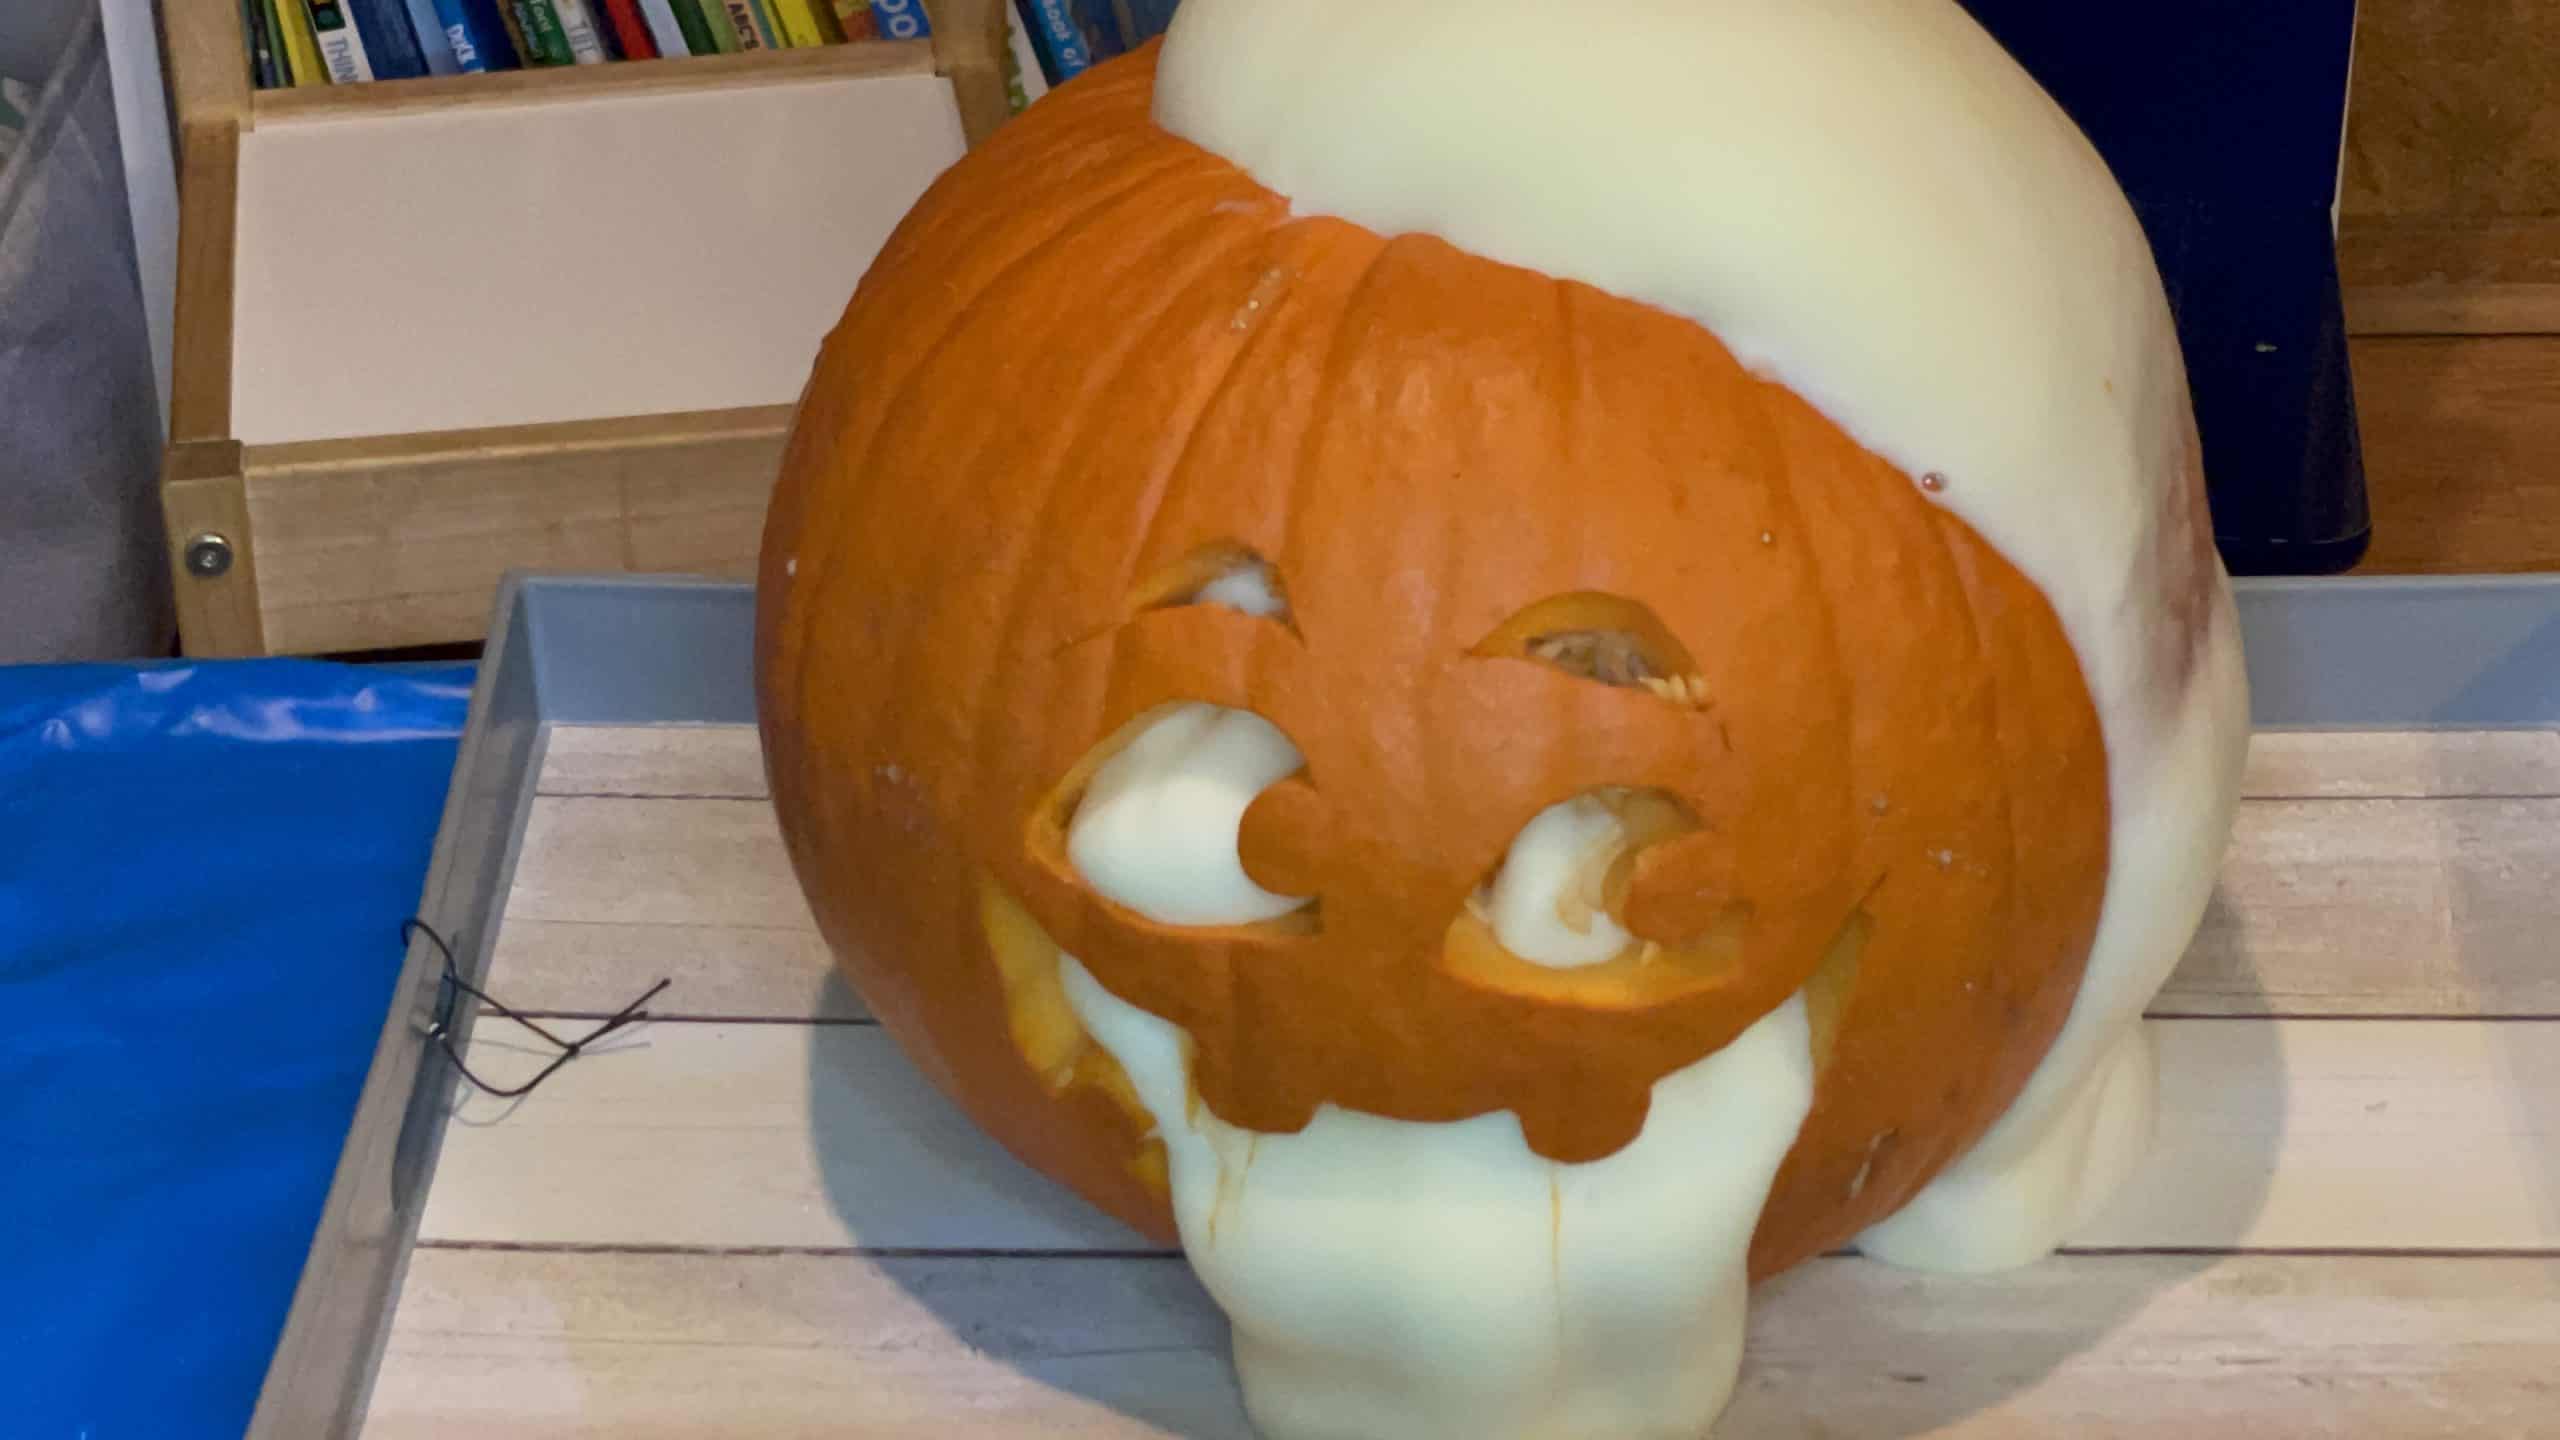
In discussing pumpkin science experiments, this one reigns supreme. We love making elephant toothpaste because it is such a fun high-impact experiment. Doing the experiment in a pumpkin makes an already fun experiment that much more exciting!
The level of reaction that you will get from the combination of ingredients really depends on the type of hydrogen peroxide. We have done this experiment many times using the typical 3% hydrogen peroxide that you find in stores and the reaction was pretty mild (which is great for younger kids).
However, with this pumpkin elephant toothpaste, I opted for a higher concentration at 6%. The reaction was bigger than it has been before without being out of control. If you have not tried to make elephant toothpaste before I 100% recommend that you give it a try, it is such a fun experiment!
Here’s what you will need to make pumpkin elephant toothpaste:
- Hollowed out pumpkin
-
1 cup (4 oz) 6% hydrogen peroxide. I used a 20 volume clear developer (liquid) that I purchased from Sally’s Beauty Supply.
-
Food coloring
-
6 tablespoons of warm water
-
2 packets of active yeast
-
~ 2 tablespoons of dish soap
-
Recycled plastic water bottle, jar, beaker, etc.
-
Funnel
-
Tray
-
Measuring cups and spoons
-
Safety goggles
How to make your pumpkin erupt

Pumpkin STEM activity
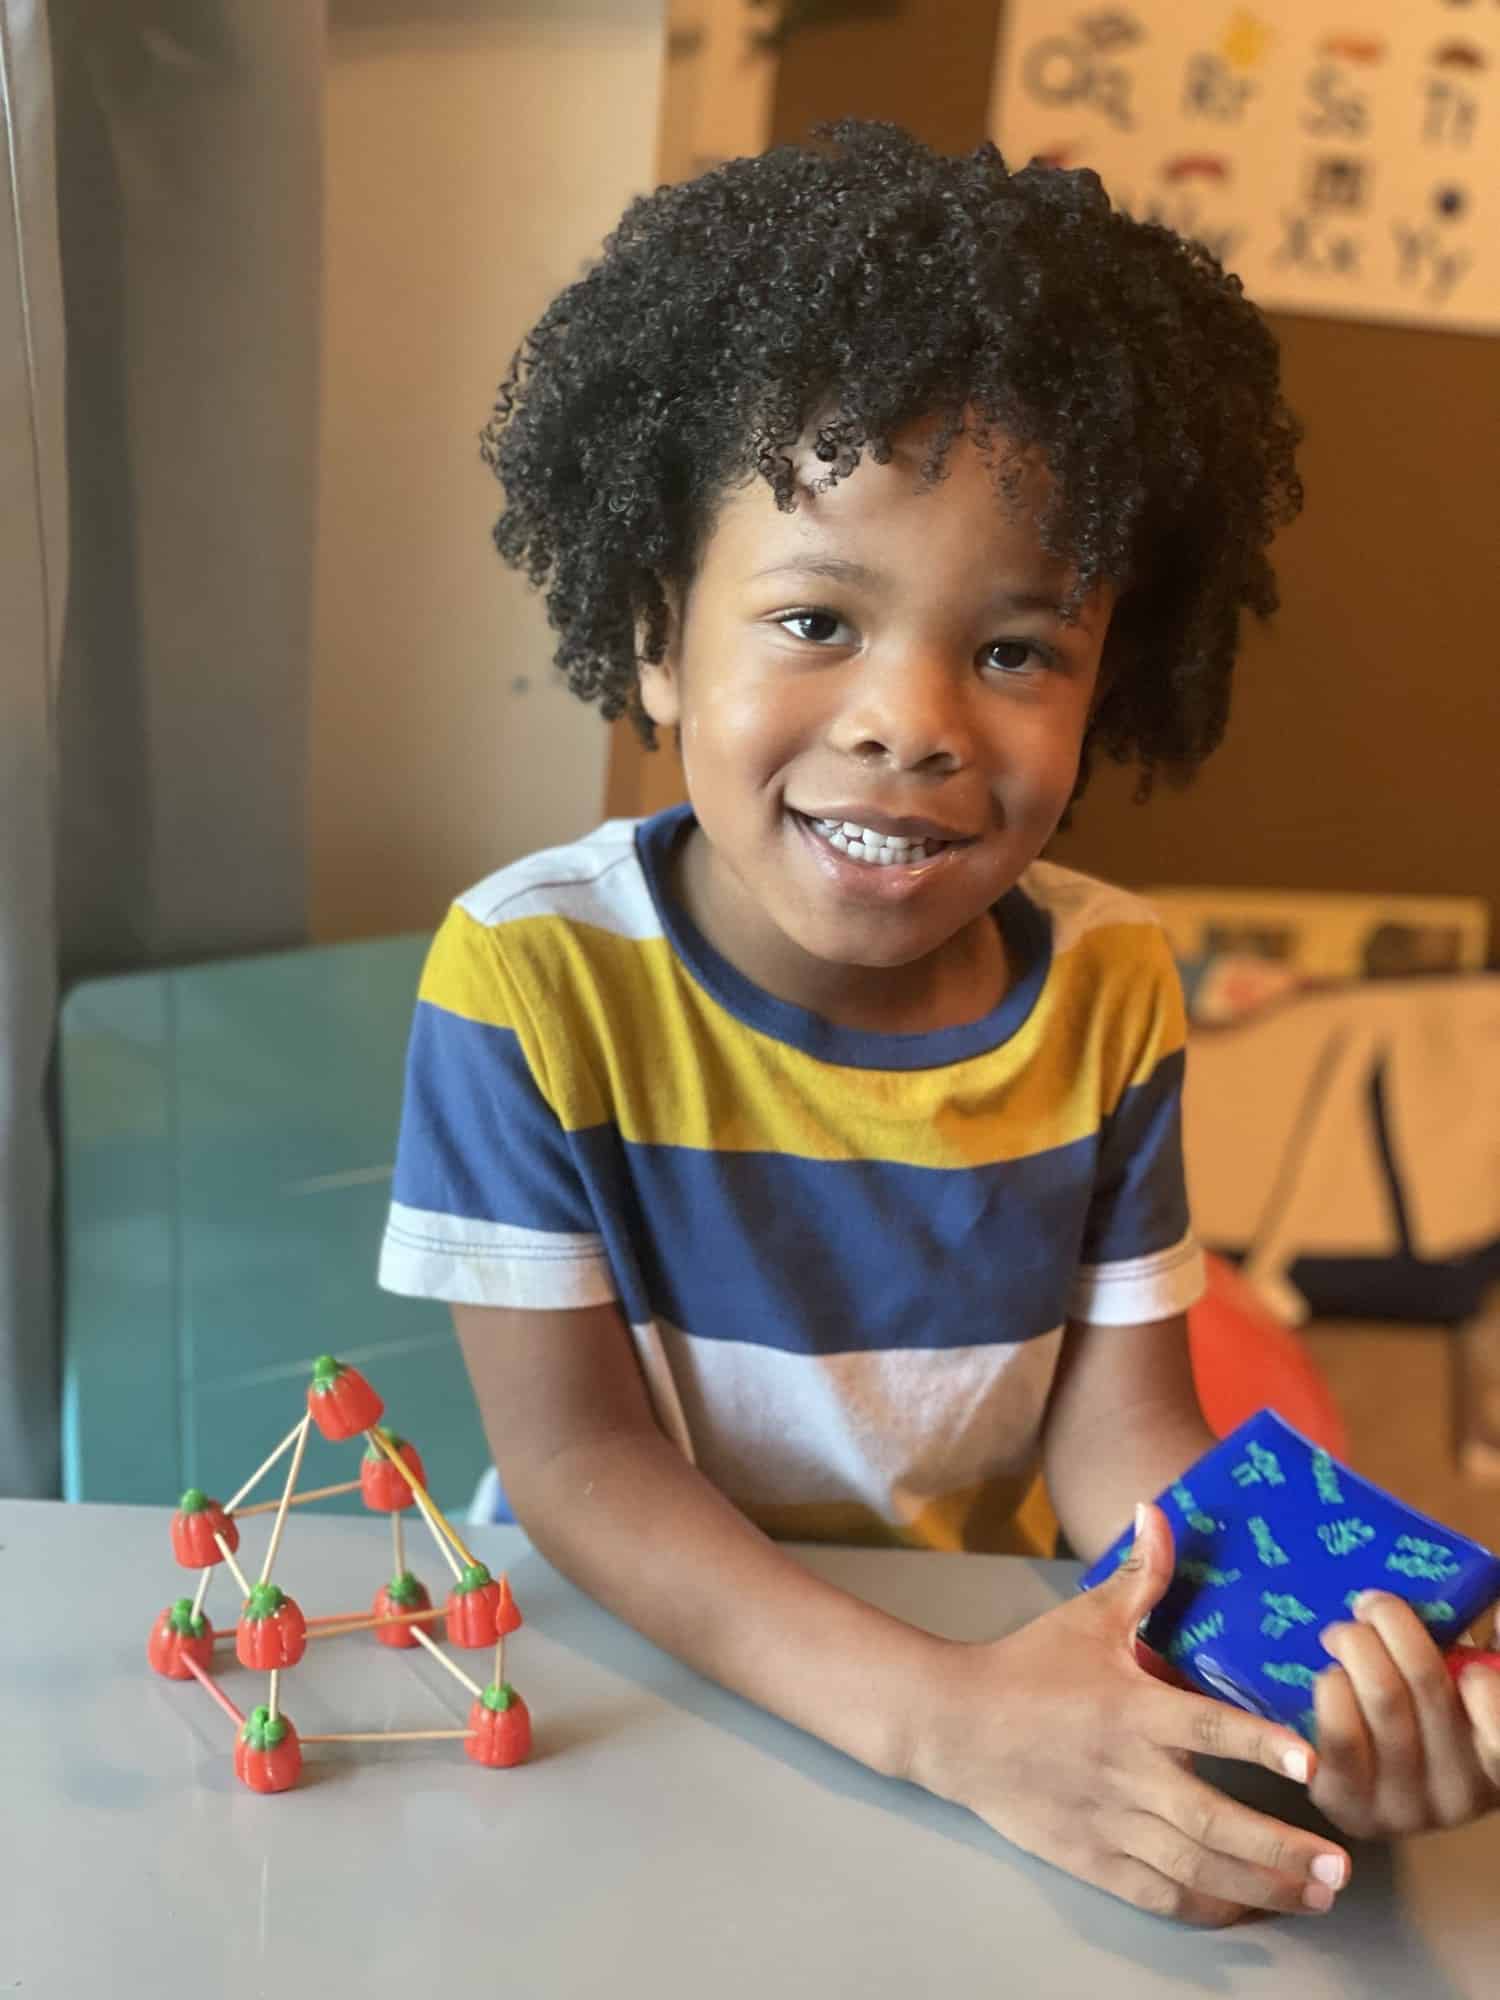
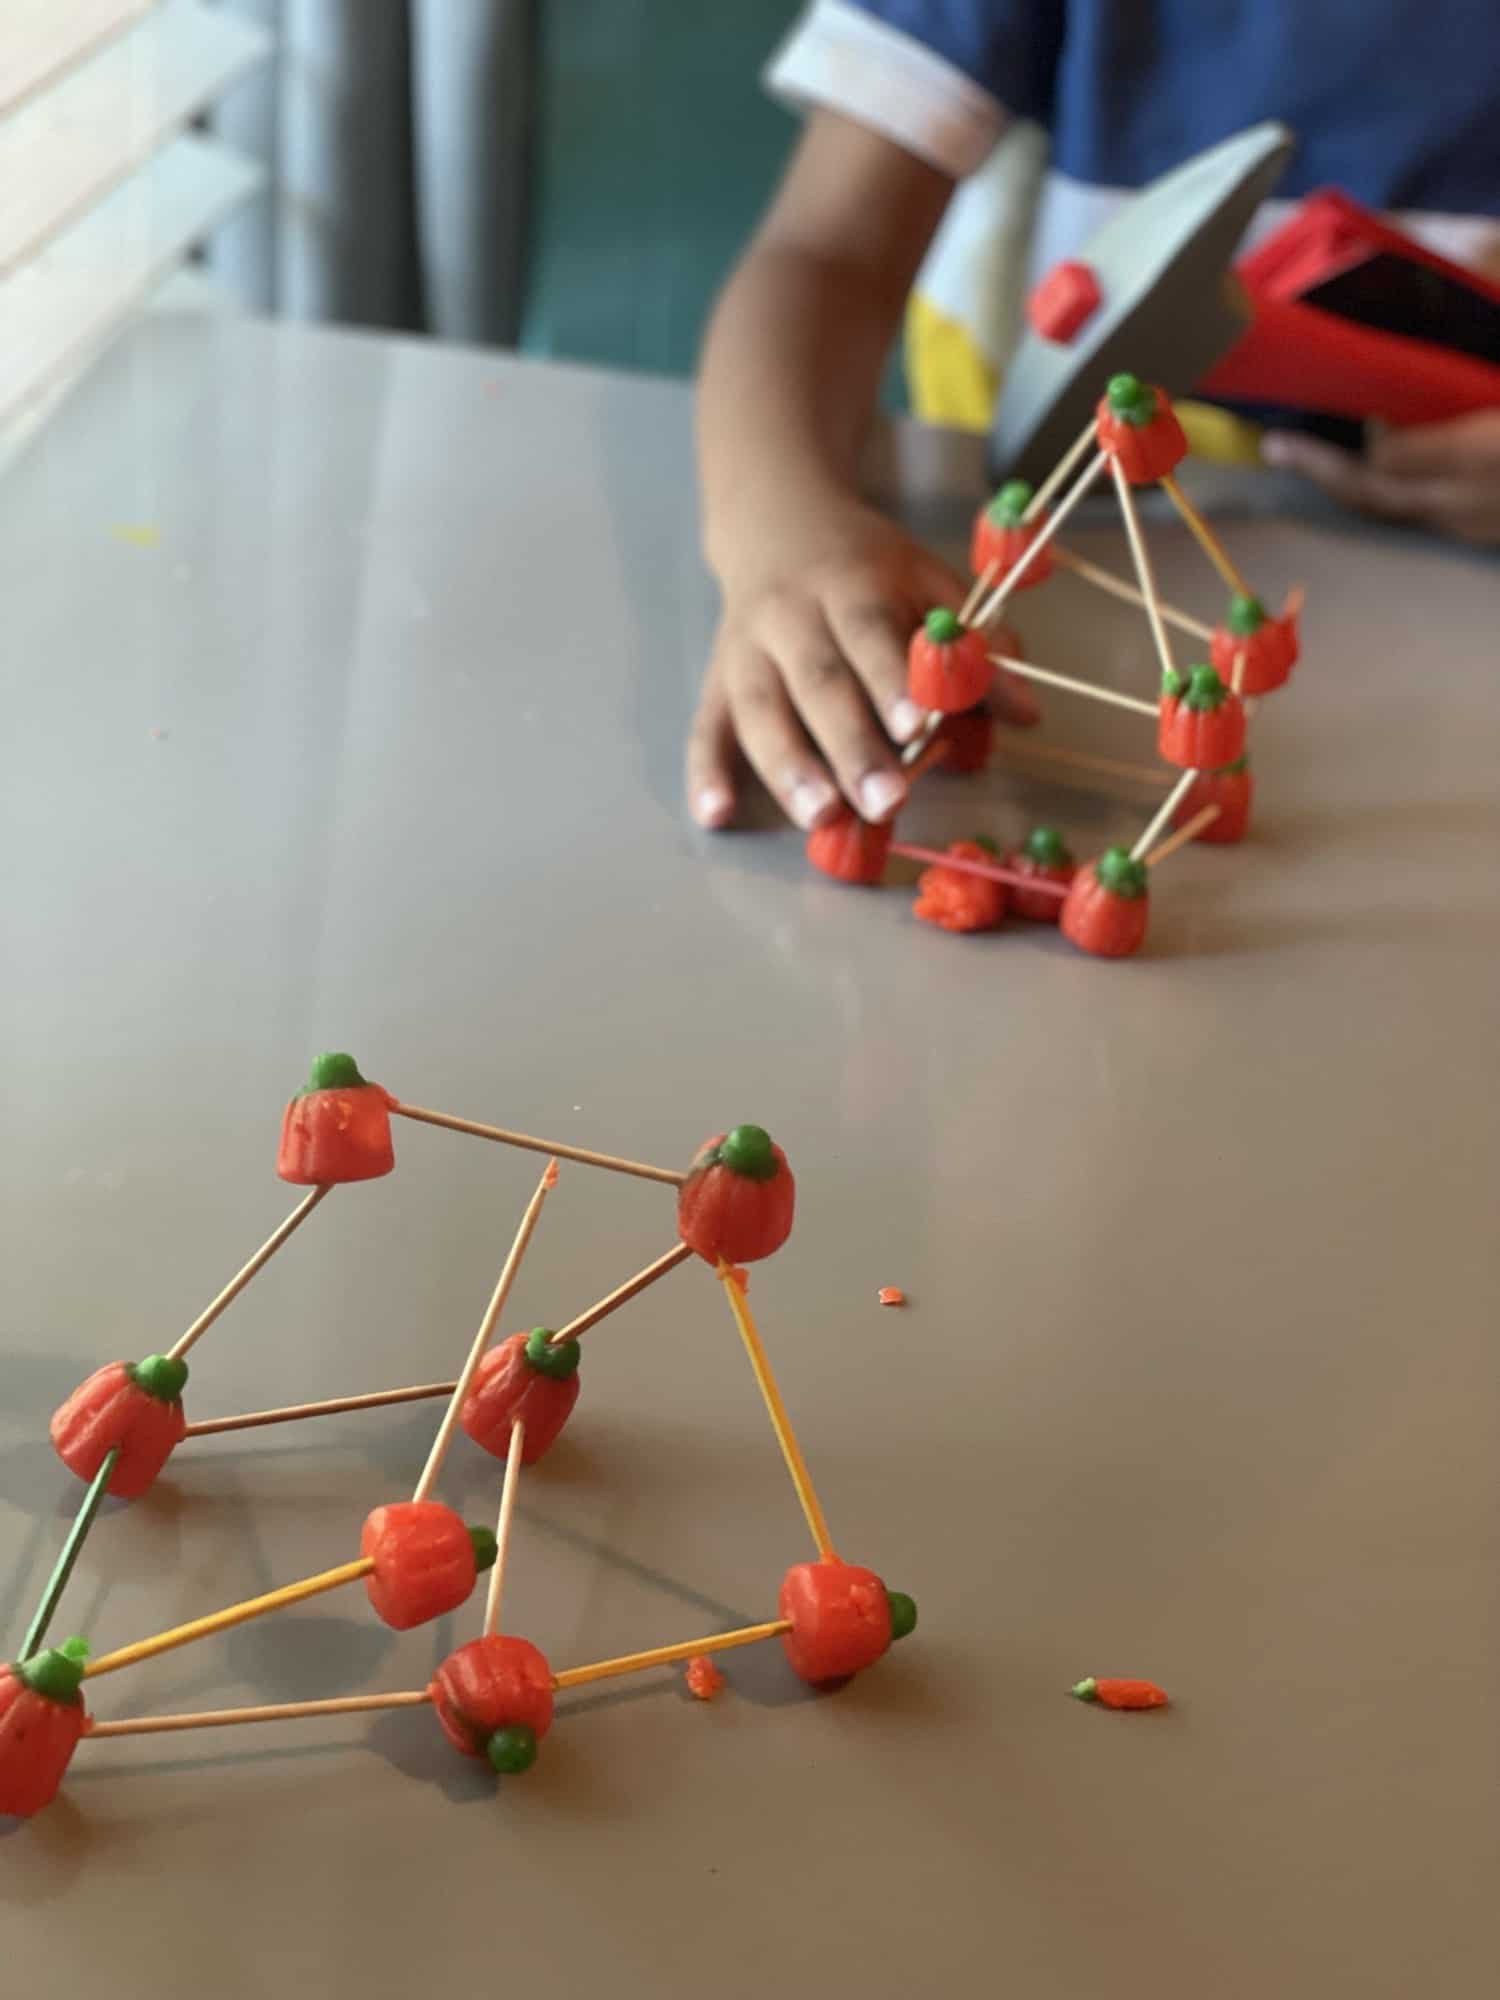
While this activity does not call for the use of real pumpkins, it is an engaging themed activity nonetheless. Kids can channel their inner engineer as they build amazing pumpkin structures using two materials: pumpkin candy and toothpicks. That’s it!
At this time of year, pumpkin candy should not be hard to find. They are semi-soft and definitely related to candy corn. I purchased mine from Sprout’s Farmers Market, but I am sure they are available at other grocery stores as well.
I love this activity so much because as I mentioned, it is so engaging and encourages focus and creativity. My almost 5 year old spent a solid 30 minutes building his structure and was so proud of the end result. This is a great activity that can be recreated time and time again using different materials. The pumpkin candy can be swapped for marshmallows, candy peanuts, or any other semi-soft material. So, get building!
Don’t just be a pumpkin eater this season!
There are so many awesome pumpkin science experiments for kids. This is a great time to engage, learn, and have fun with an item that kids may only know as an ingredient for their favorite pie. So, which pumpkin science experiment will you try with your kids?
About the author
Lauren is a California native turned Texan, who loves to get out in nature and discover hidden gems all around the Dallas/Fort Worth area. She is a wife and homeschooling mama to three kids who definitely keep her on her toes. She truly believes in the value of homeschooling and that there are learning opportunities available all around us. In addition to homeschooling, Lauren is also an entrepreneur; she’s the co-owner of Crunchy Boutique (a natural-living/eco-friendly boutique).
You can find more from Lauren in the following places:
Instagram: @crunchymamadfw
Facebook: @crunchymamadfw
RWMC Posts: Lauren Cain



1 comment